A letter from Douglas to prepare everyone for class:
”Hello everyone!
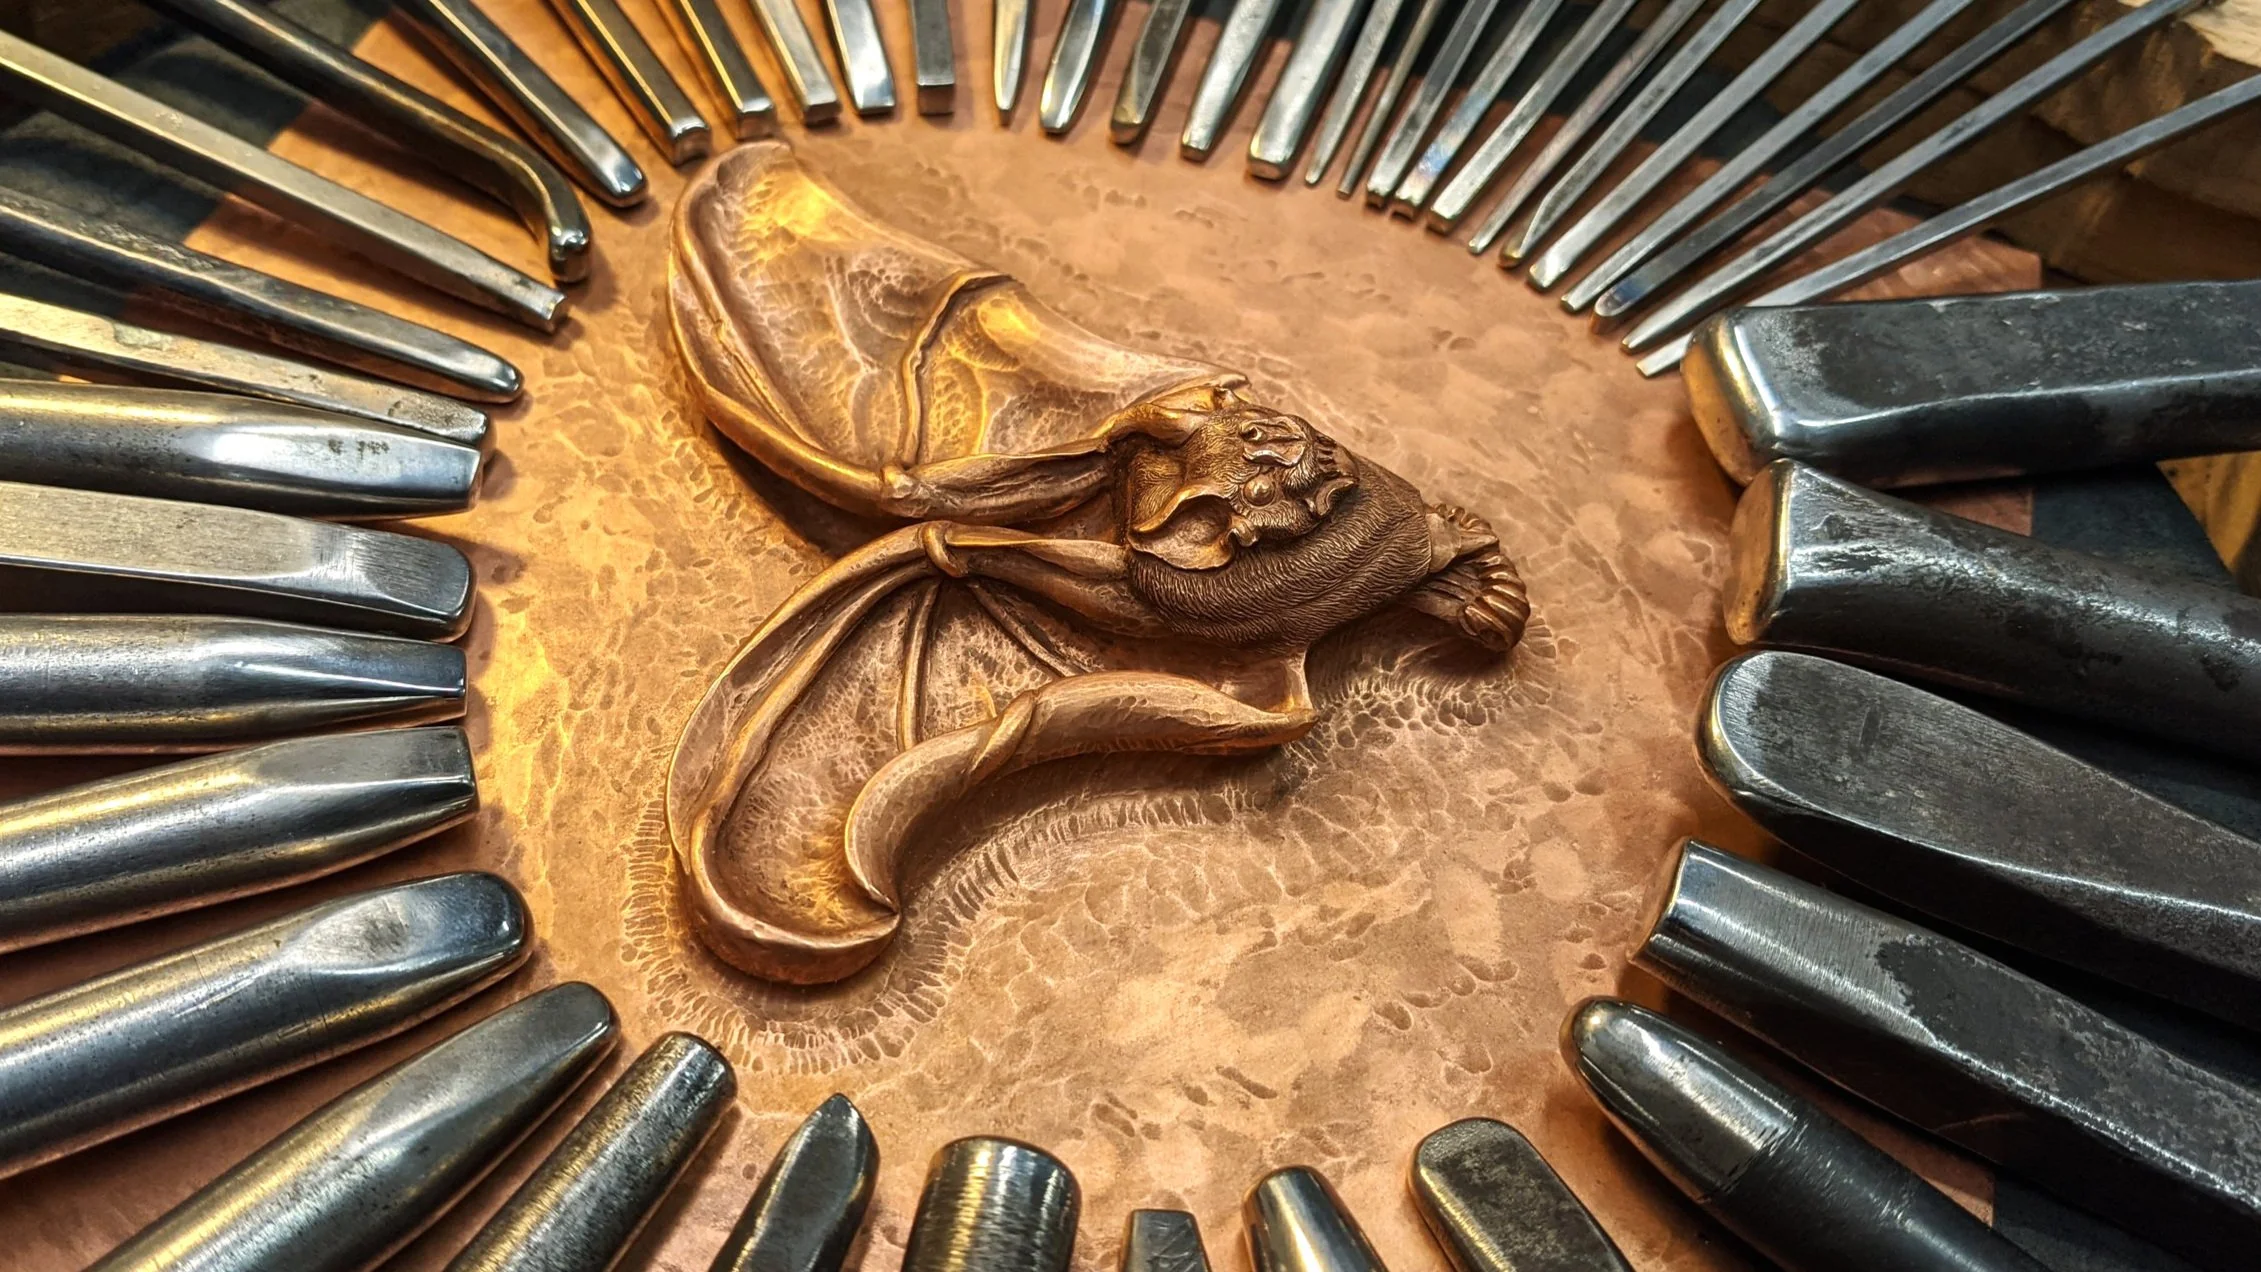
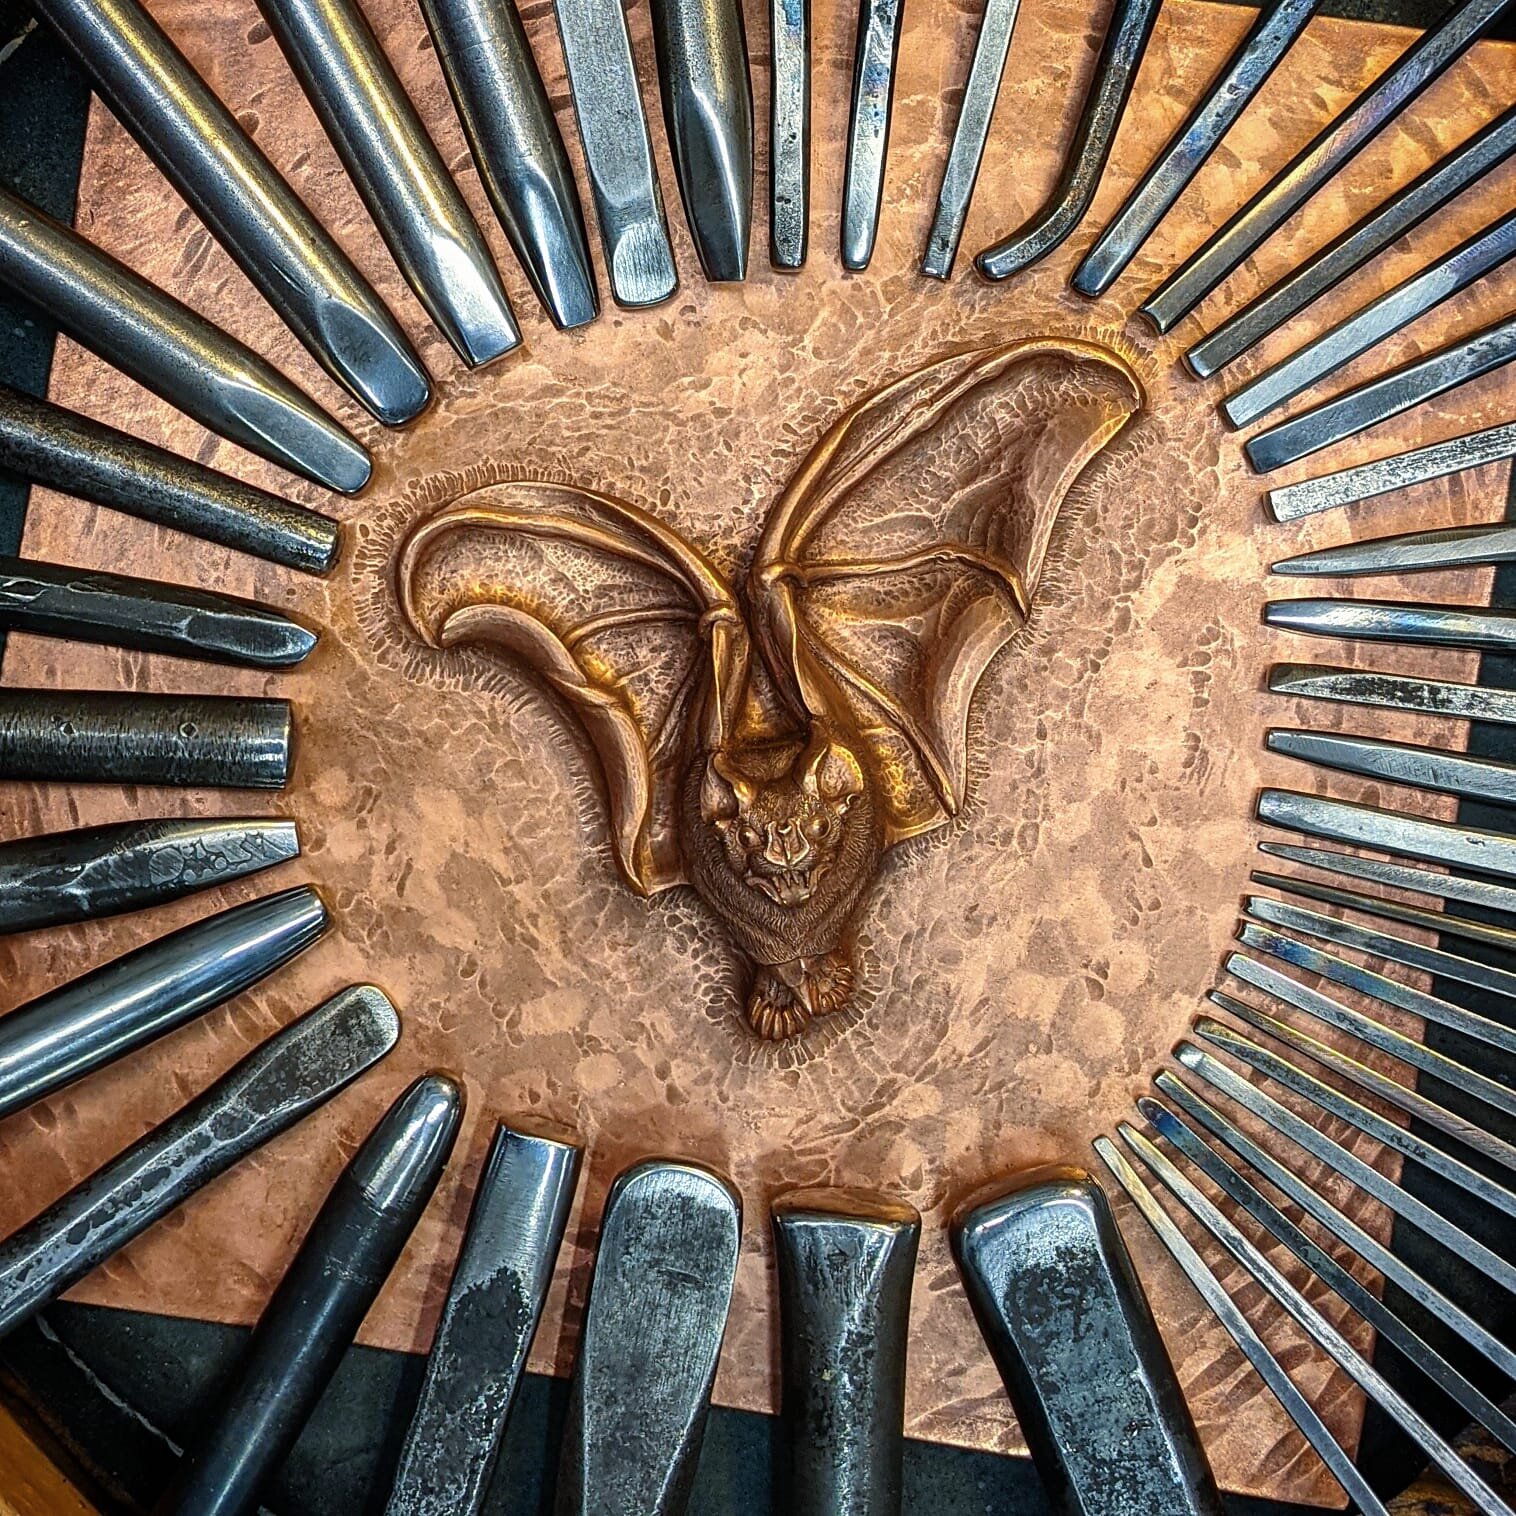
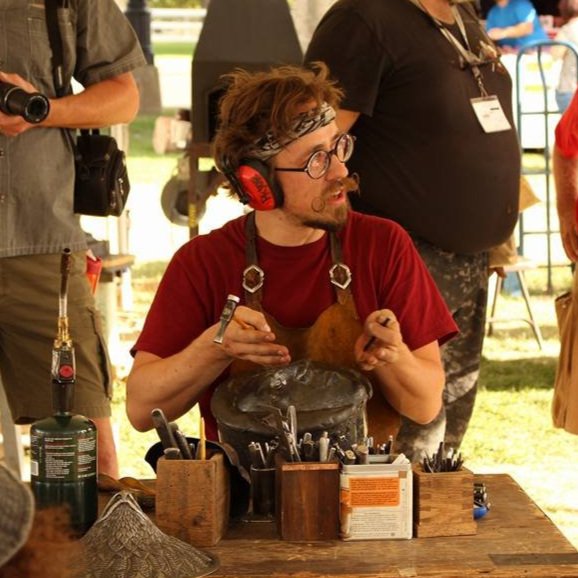
I am very much looking forward to working with you all at our upcoming workshop Chasing and Repoussé: Scientific Illustrations!
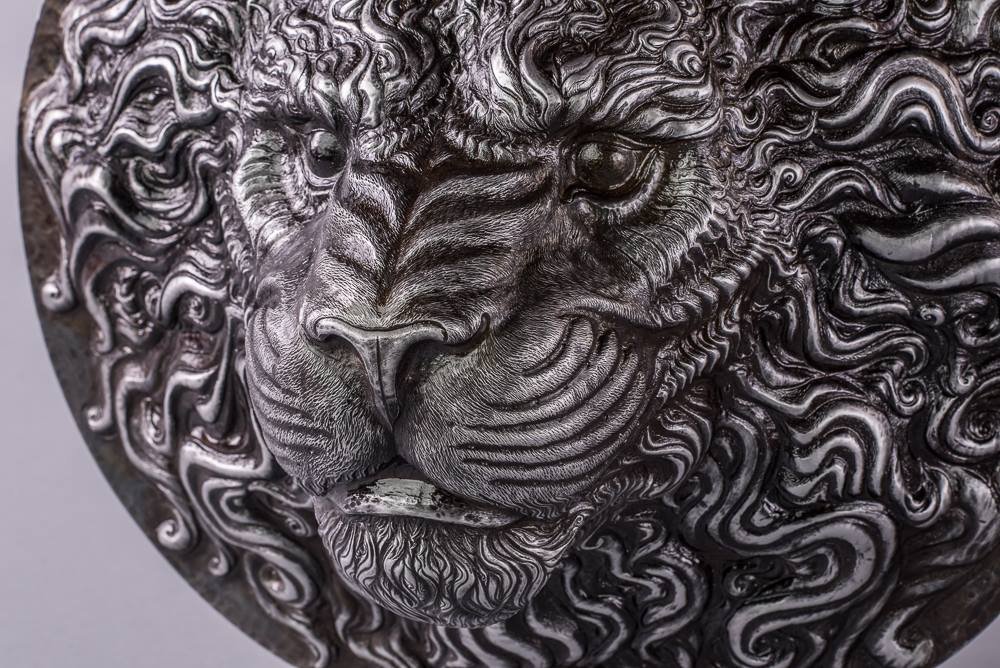
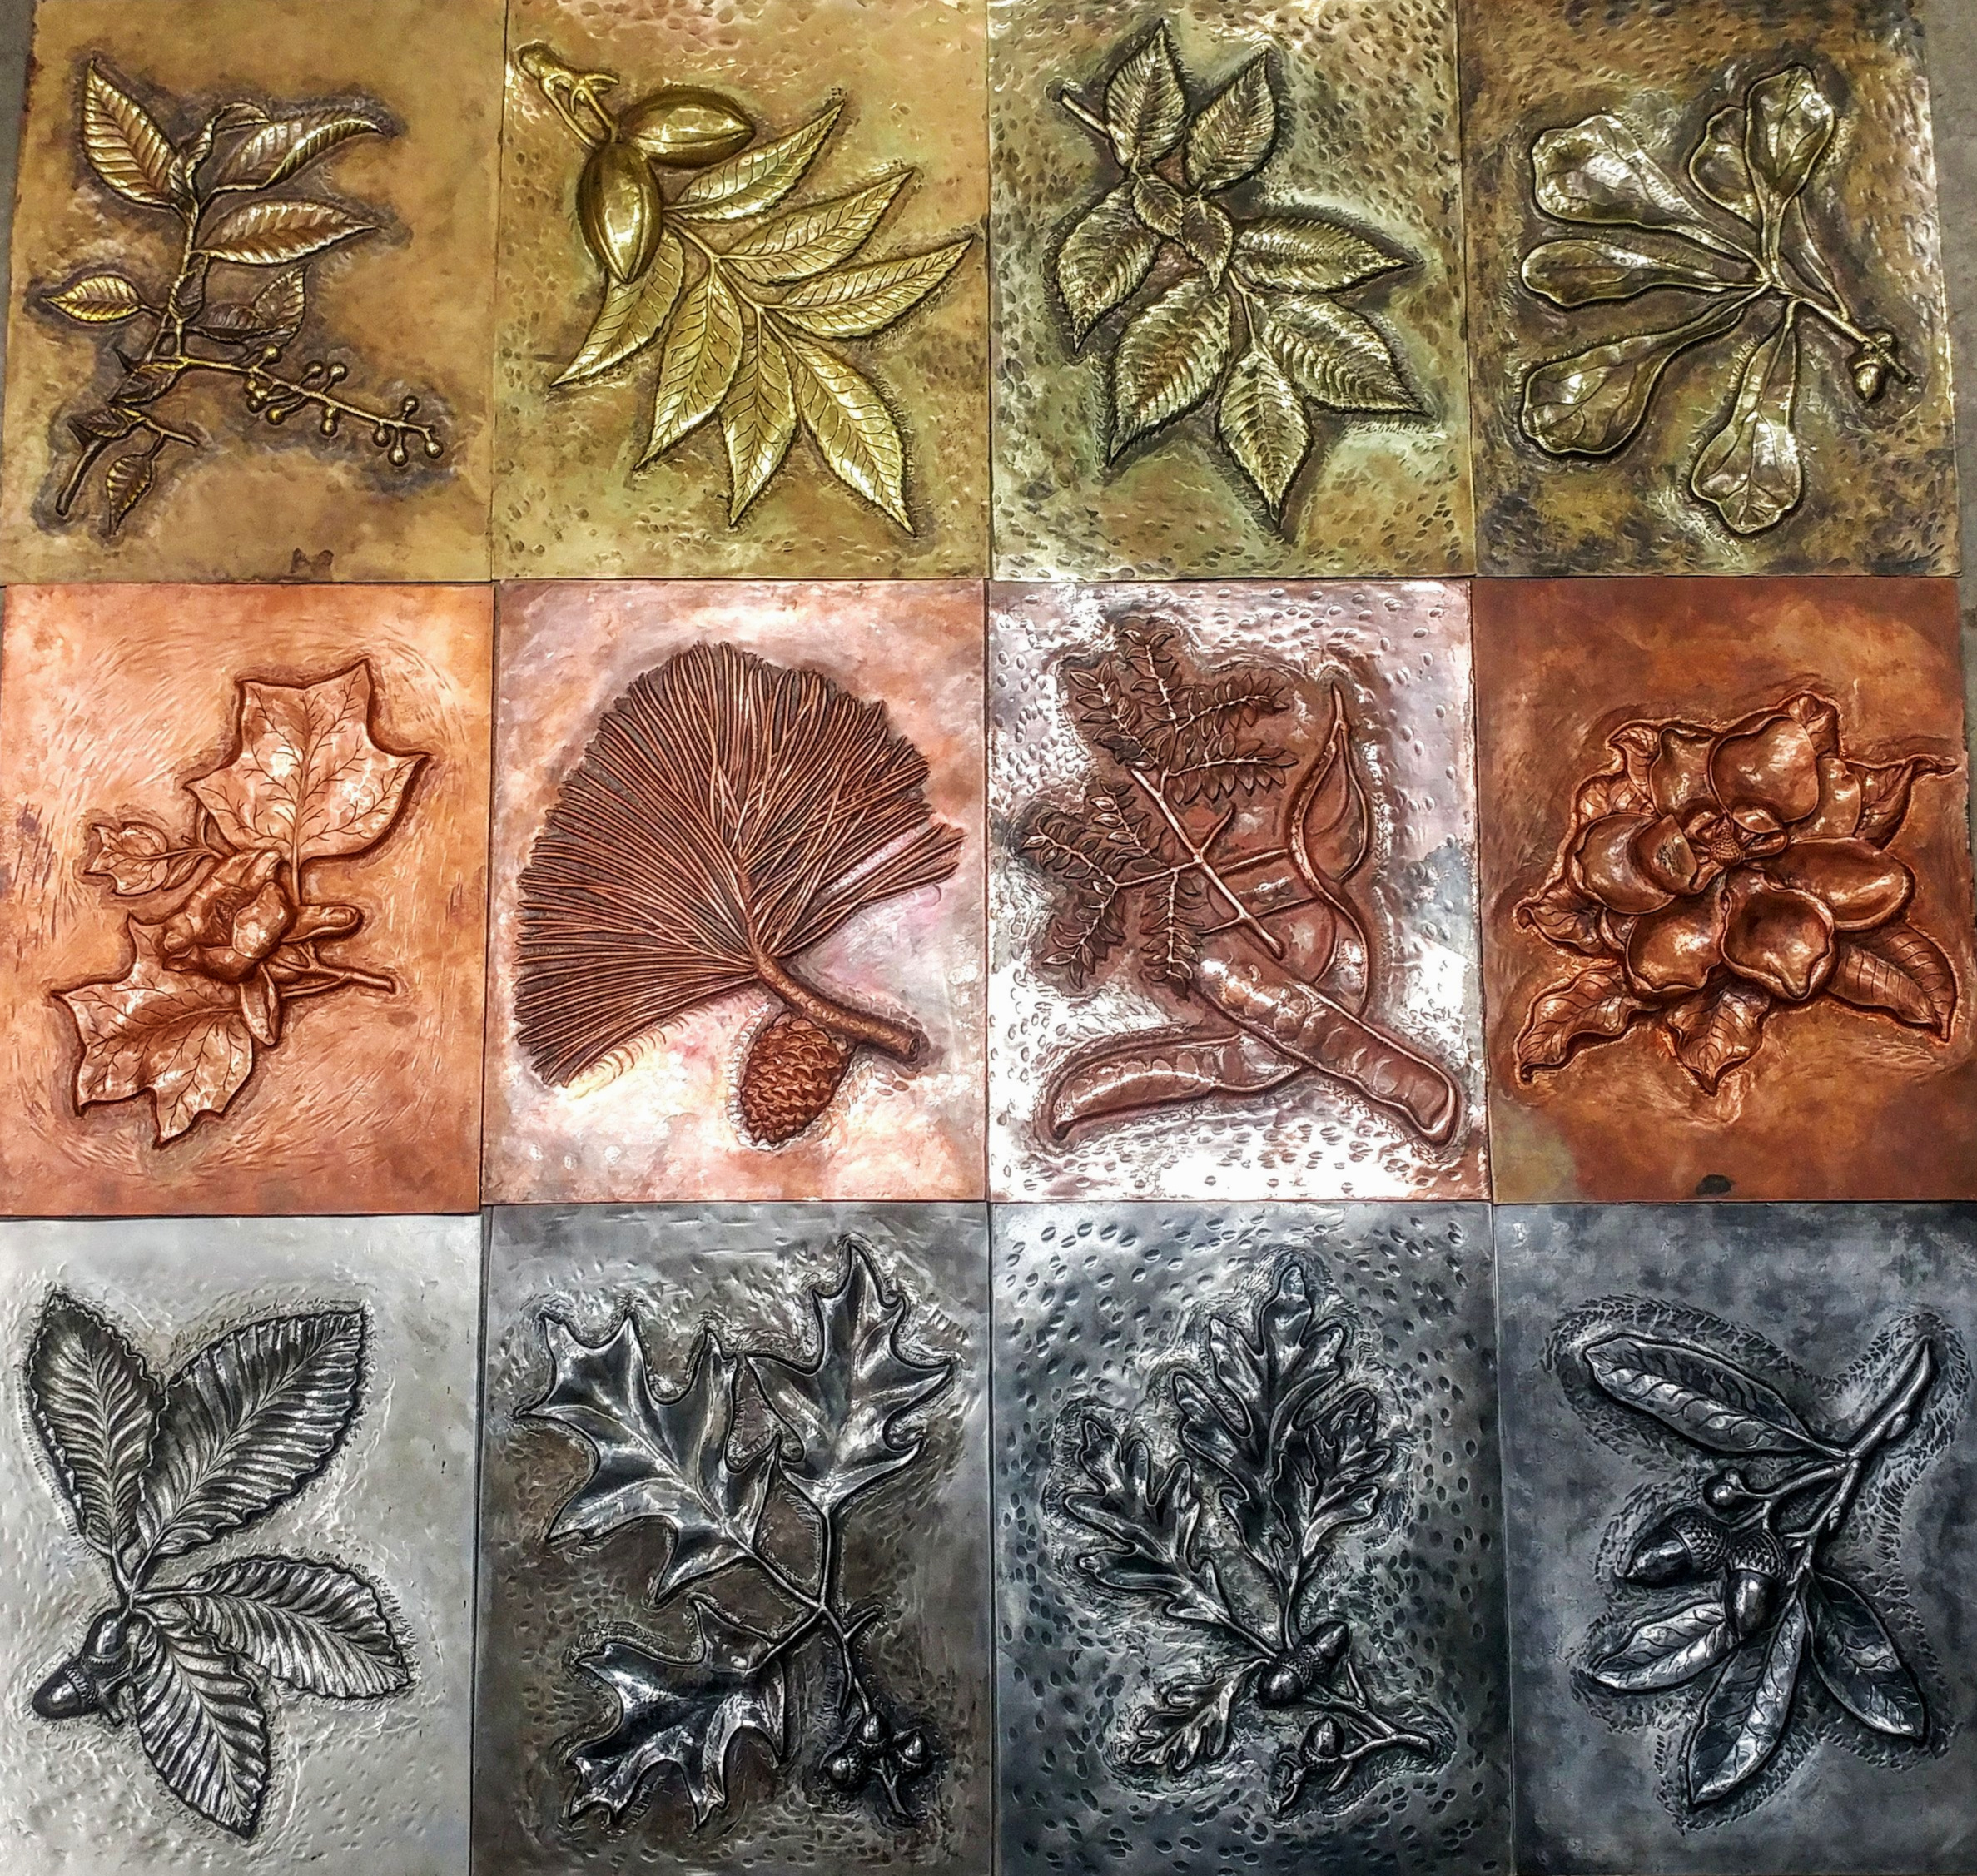
So what is a scientific illustration? Generally speaking it is a drawing or illustration in the service of accurate observations, accurate enough to where our drawings can become a tool for study. With this attitude we are going to select something from nature to study through the sculpting medium chasing.
Some things to keep in mind and some things I’ll need you to have for the workshop:
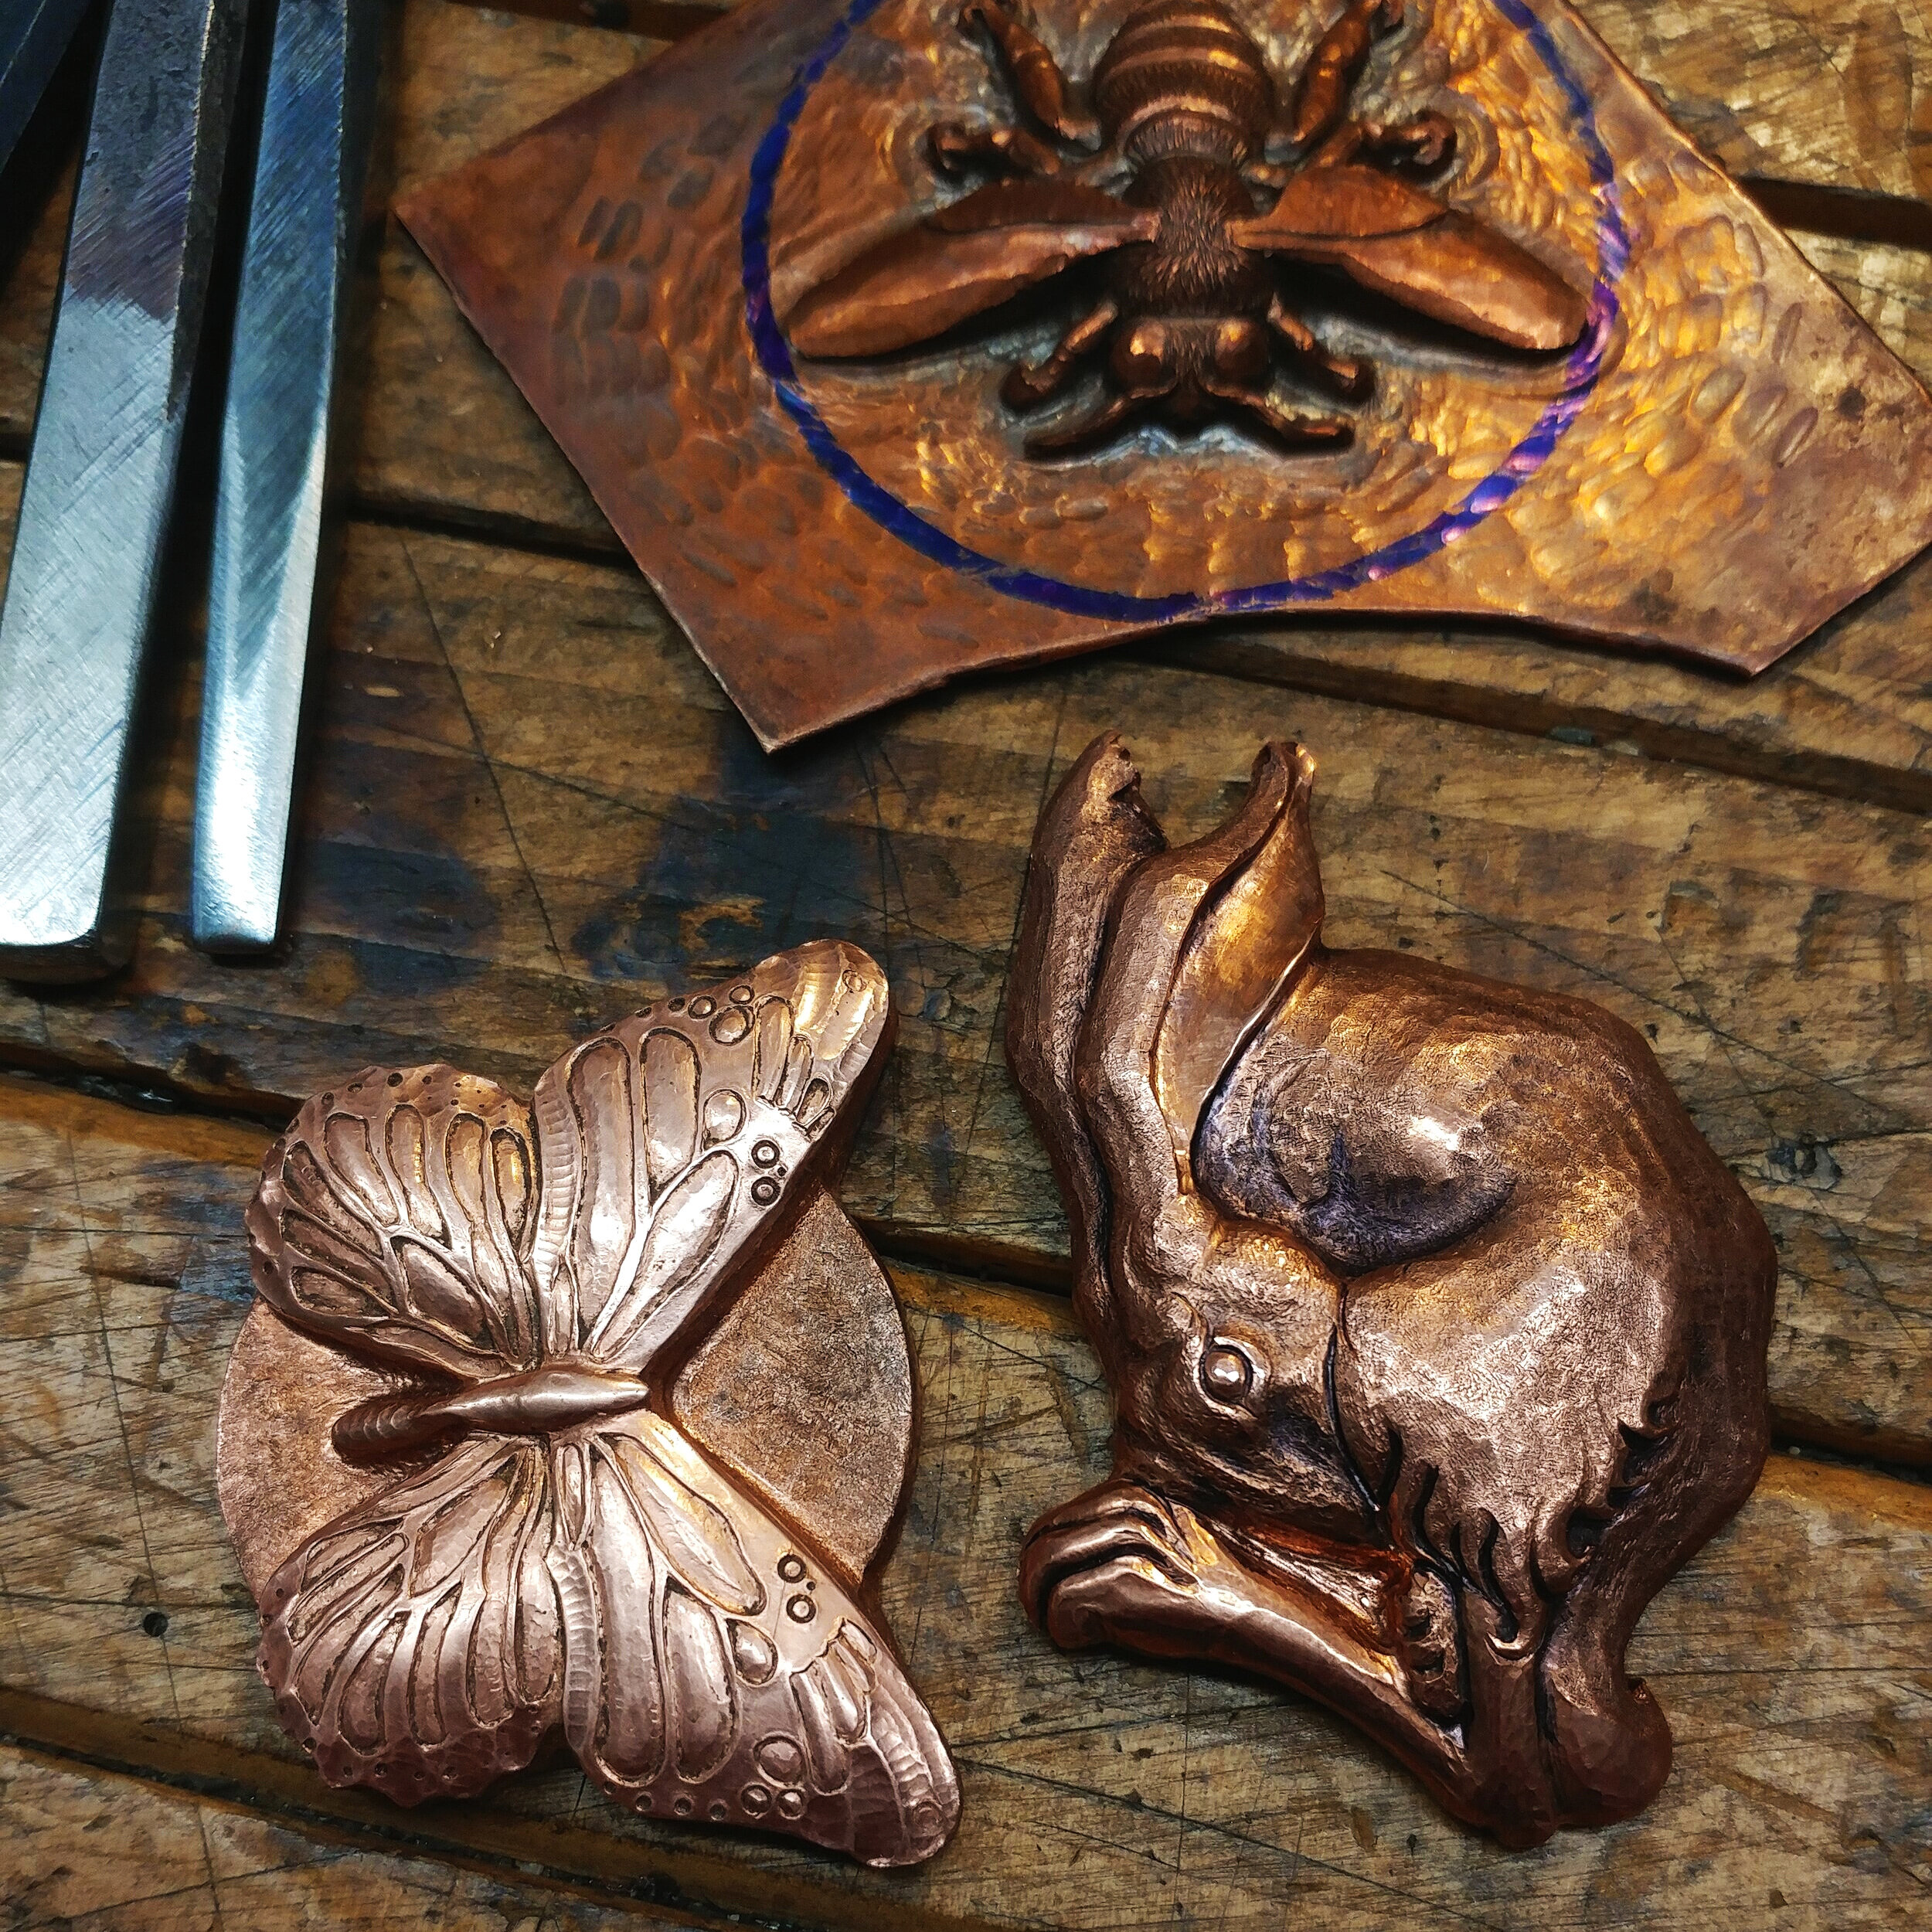
You will need a subject to study.
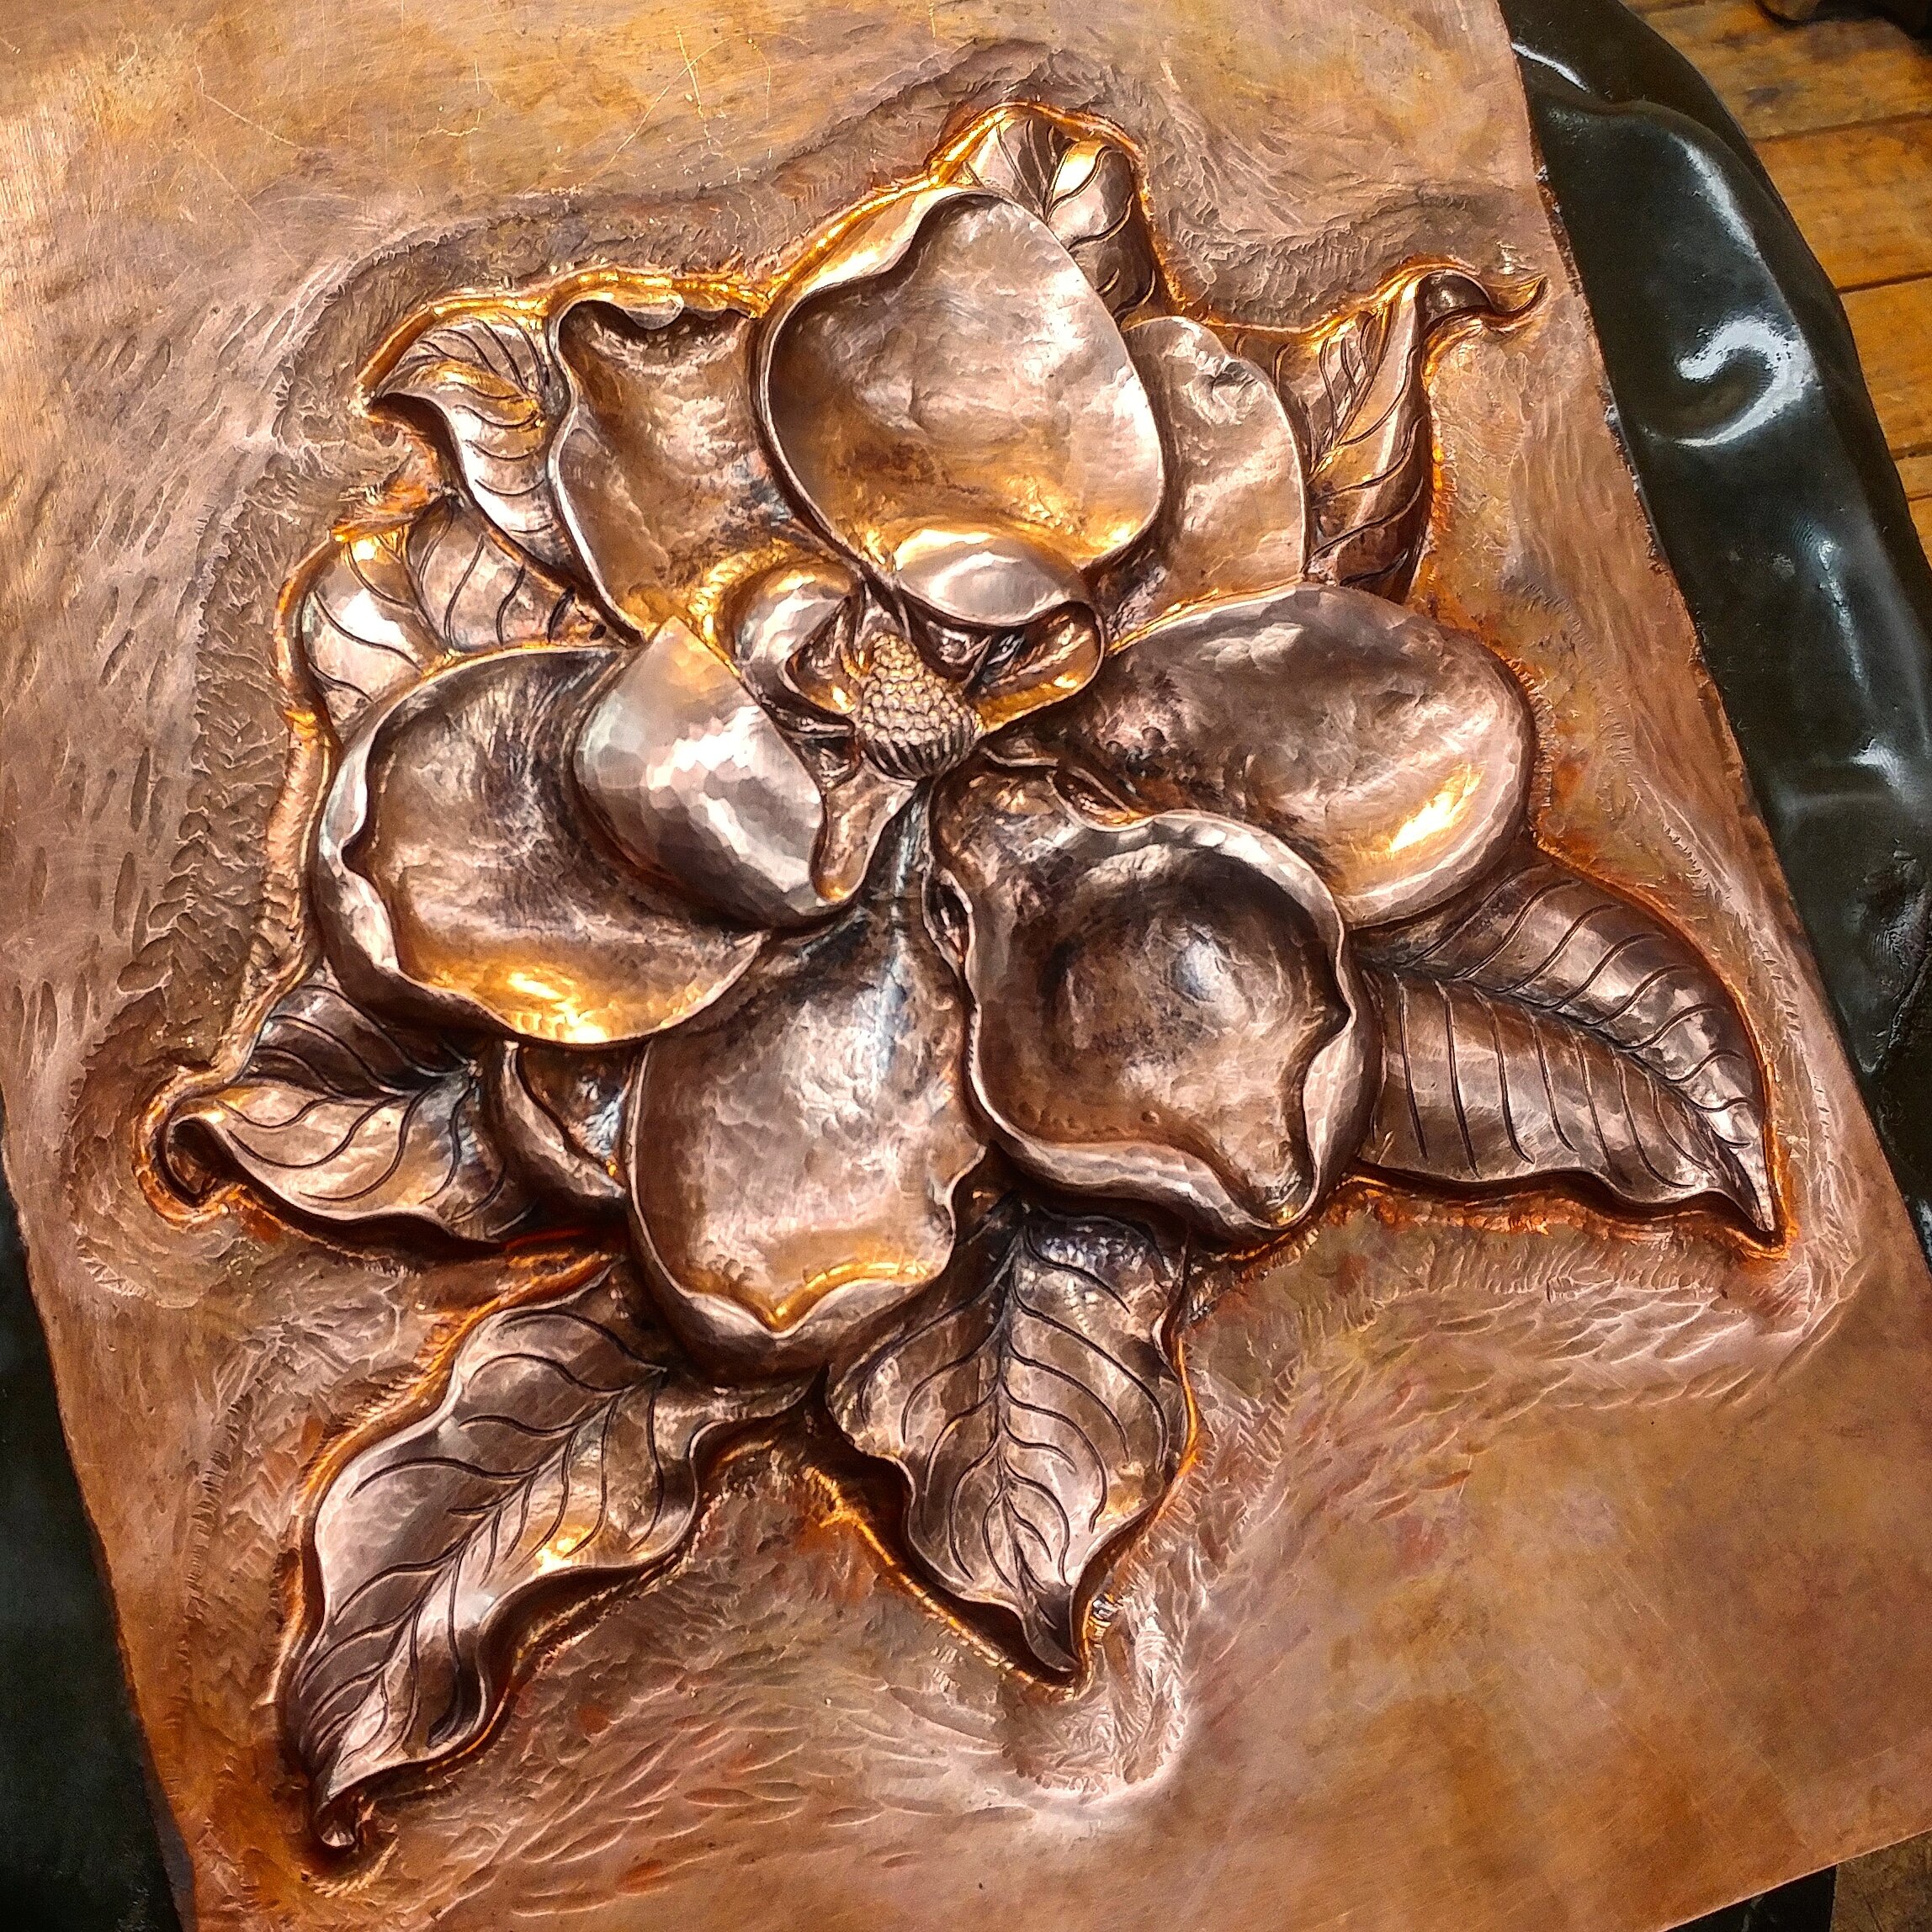
This could be a flower, or an insect, a piece of fruit, all three put together, you name it. I recommend picking something that you genuinely care about because you will be dedicating quite a bit of time to making it. So choose something that will display your curiosity and passion.
There are of course some natural limitations to what we can accomplish within 5 days so do keep that in mind while you explore around for a subject. You will want to pick something that is not so complicated that you cannot sculpt it in our time constraints, or something that will not easily fit within your pitch bowl/tray.
You will need references.
Once you have selected something to study, the treasure hunt begins! You will need references for what you have chosen. This can take many many forms, photo’s off the internet and physical models are the most common. If you are working from photo’s make sure you have many angles and high resolutions of the subject in person with you for the workshop. This could be from your sketchbook, paper printouts, or photos displayed from a tablet or ipad. Modern technology is amazing but you probably will be a lot happier if you are working with something larger than a phone, a tablet or the like is a great option if it’s available to you. Personally I still go with paper references while working in the studio but I will also keep copies of those pictures on my phone so that if I run into a question I can zoom in on the photos (which is why the higher resolution your photos the better).
If you found an accurate plastic or resin model of something you can bring that with you too. Some examples could be a 3d printed skull, an anatomical heart, a cast of an insect, ect.
In some circumstances even live models are welcome. This is easiest with plants and insects. Say you found a dead dragonfly in the back garden and wanted to use it as a model that would be most appropriate. Depending on how you are traveling for this event, something as fragile as a dead dragonfly may take some preparation to bring with you but you get the idea of what I mean by a “live model.”
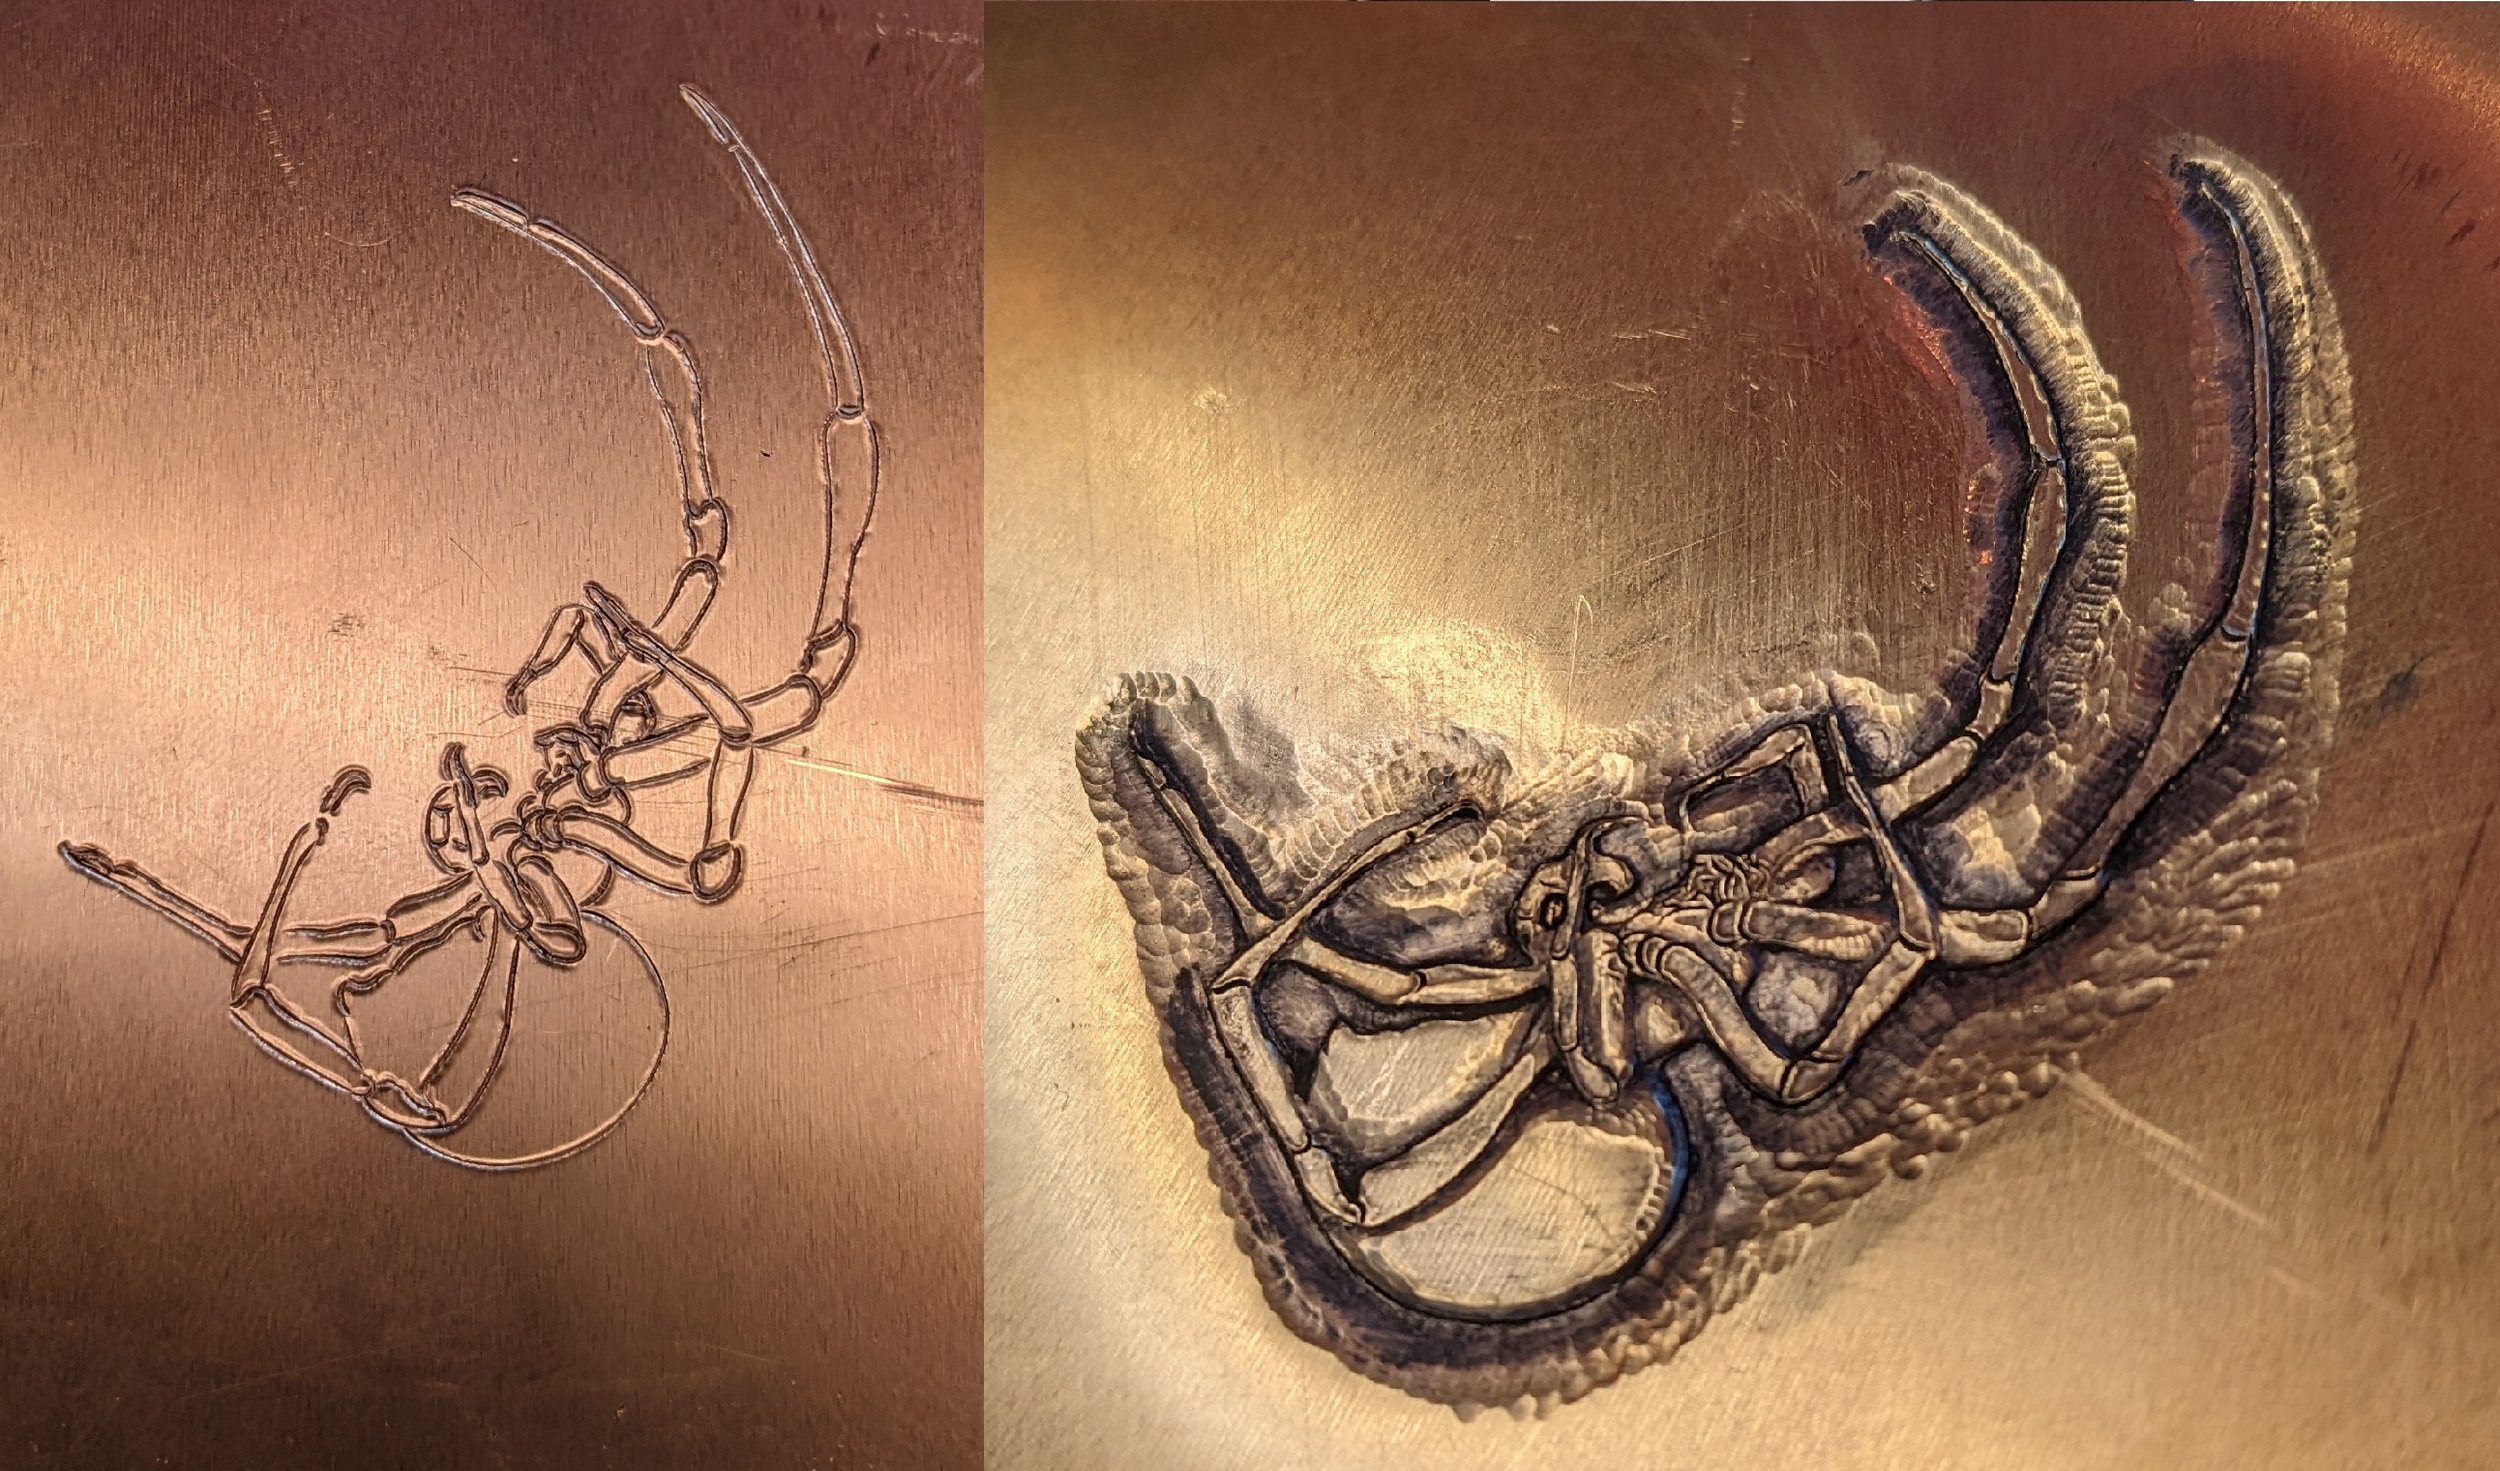
You will need a drawing.
Once you have chosen a subject (or a few) you will need to draw it. It does not have to be a perfect drawing but it should describe the composition of what you are seeing and want to accurately show. When you are composing your subject do your best to make it fit within the piece of metal you are using (5”x5” piece of copper). You will also need to give yourself space from the edge of the metal, the quick rule I use is however tall you want your sculpture to be make sure you have at least that much room from the edge of your tile of copper. So if I want a half inch tall sculpture I will give myself at least (sometimes even a little more) a half inch of room from the edge of the metal to the edge of the sculpture.
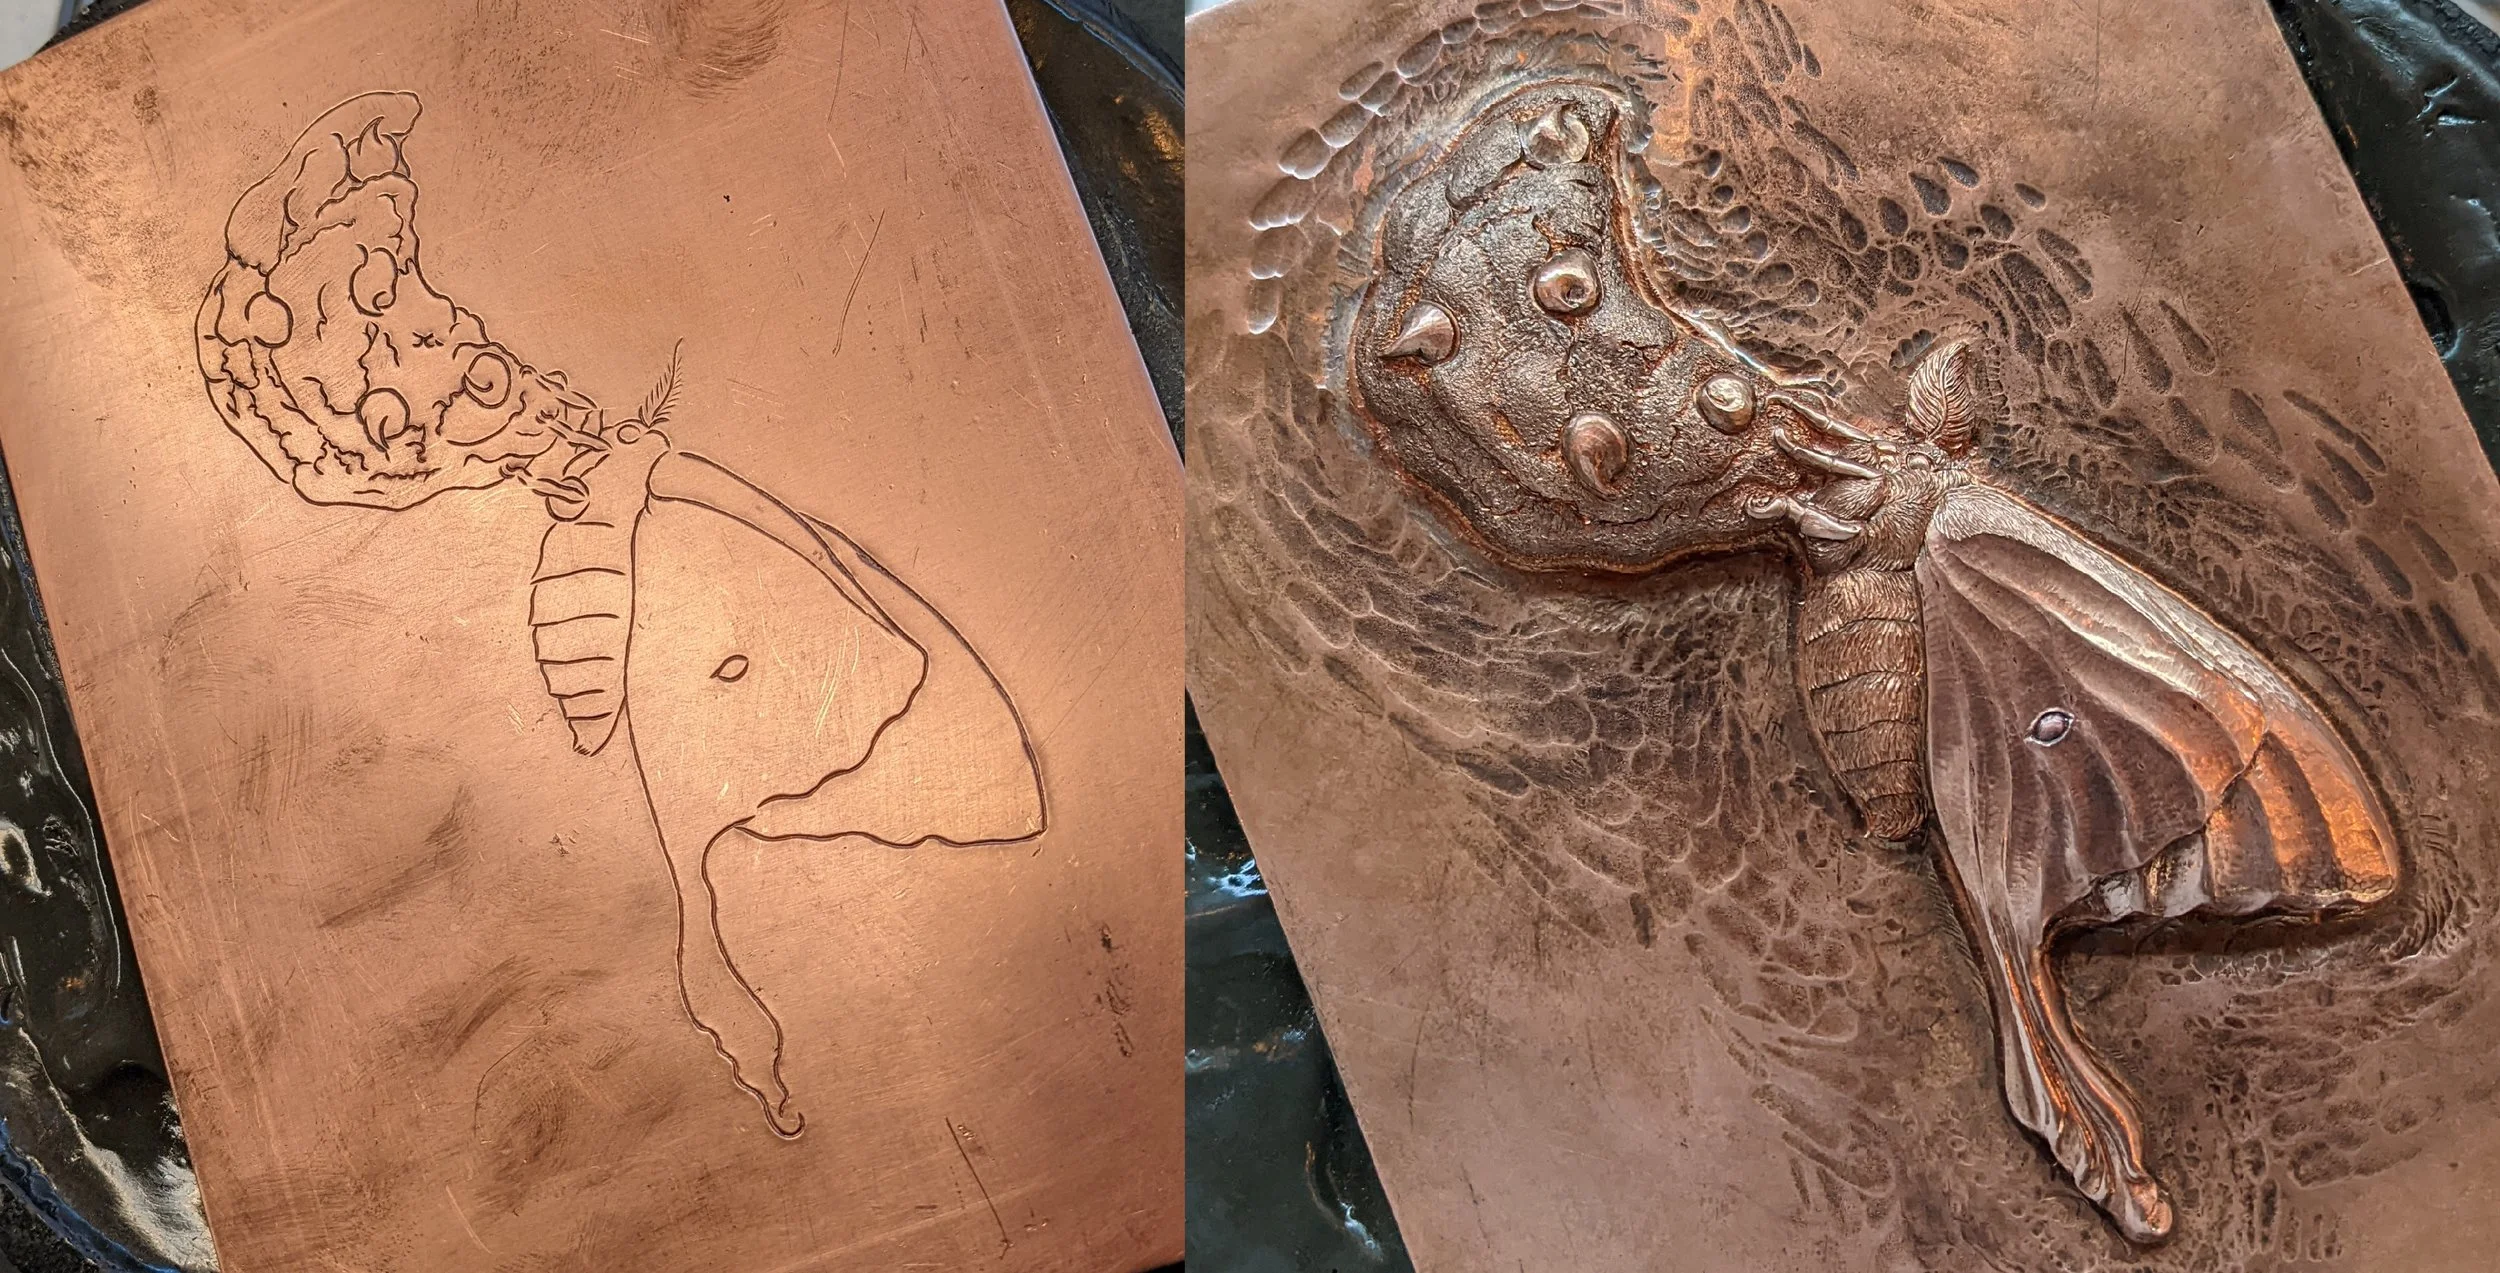
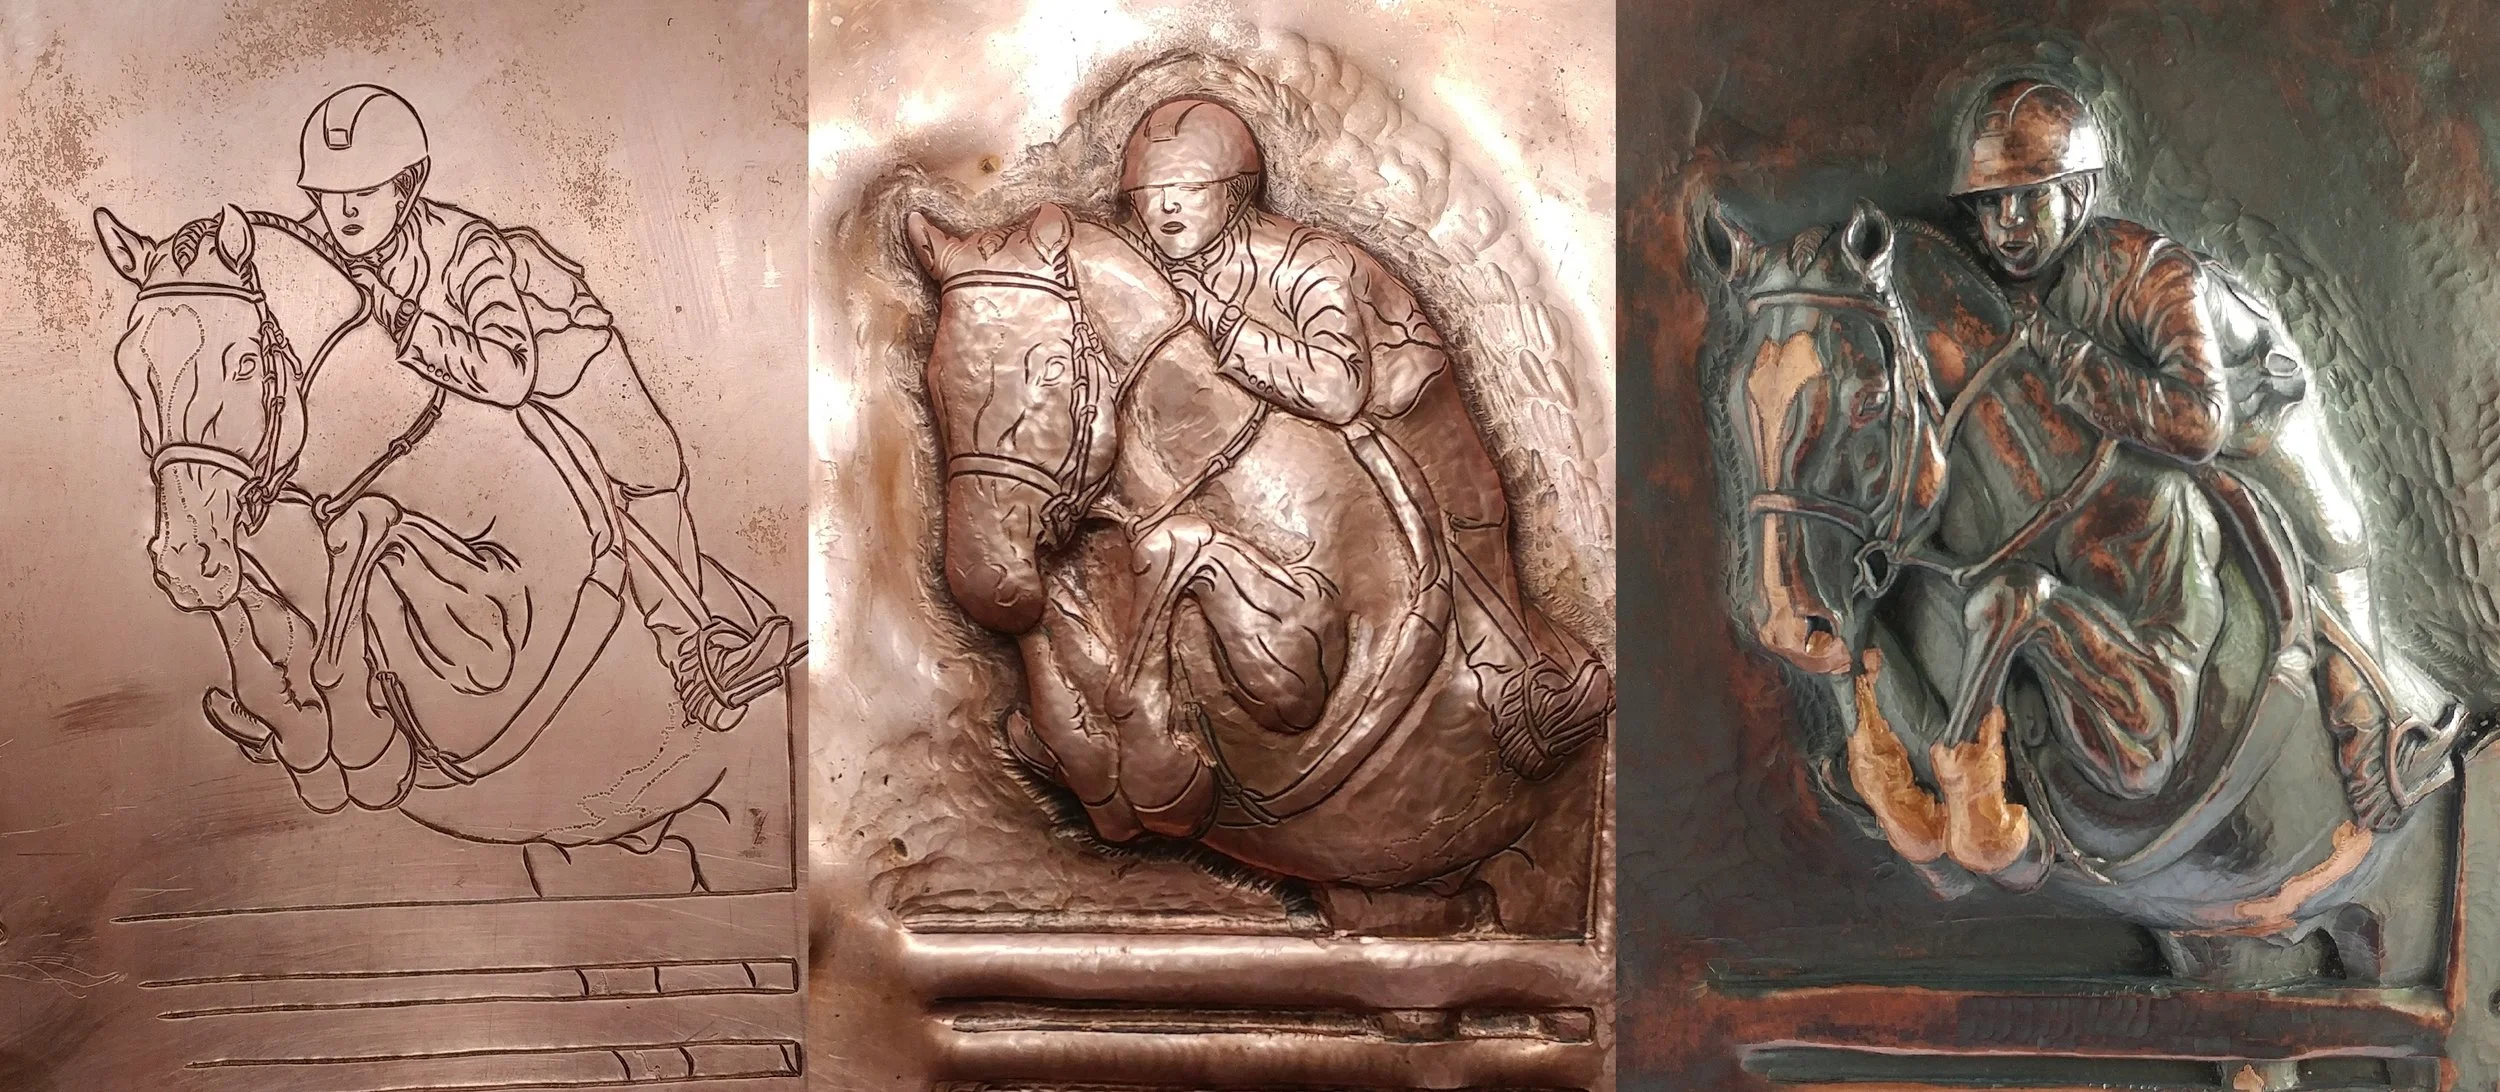
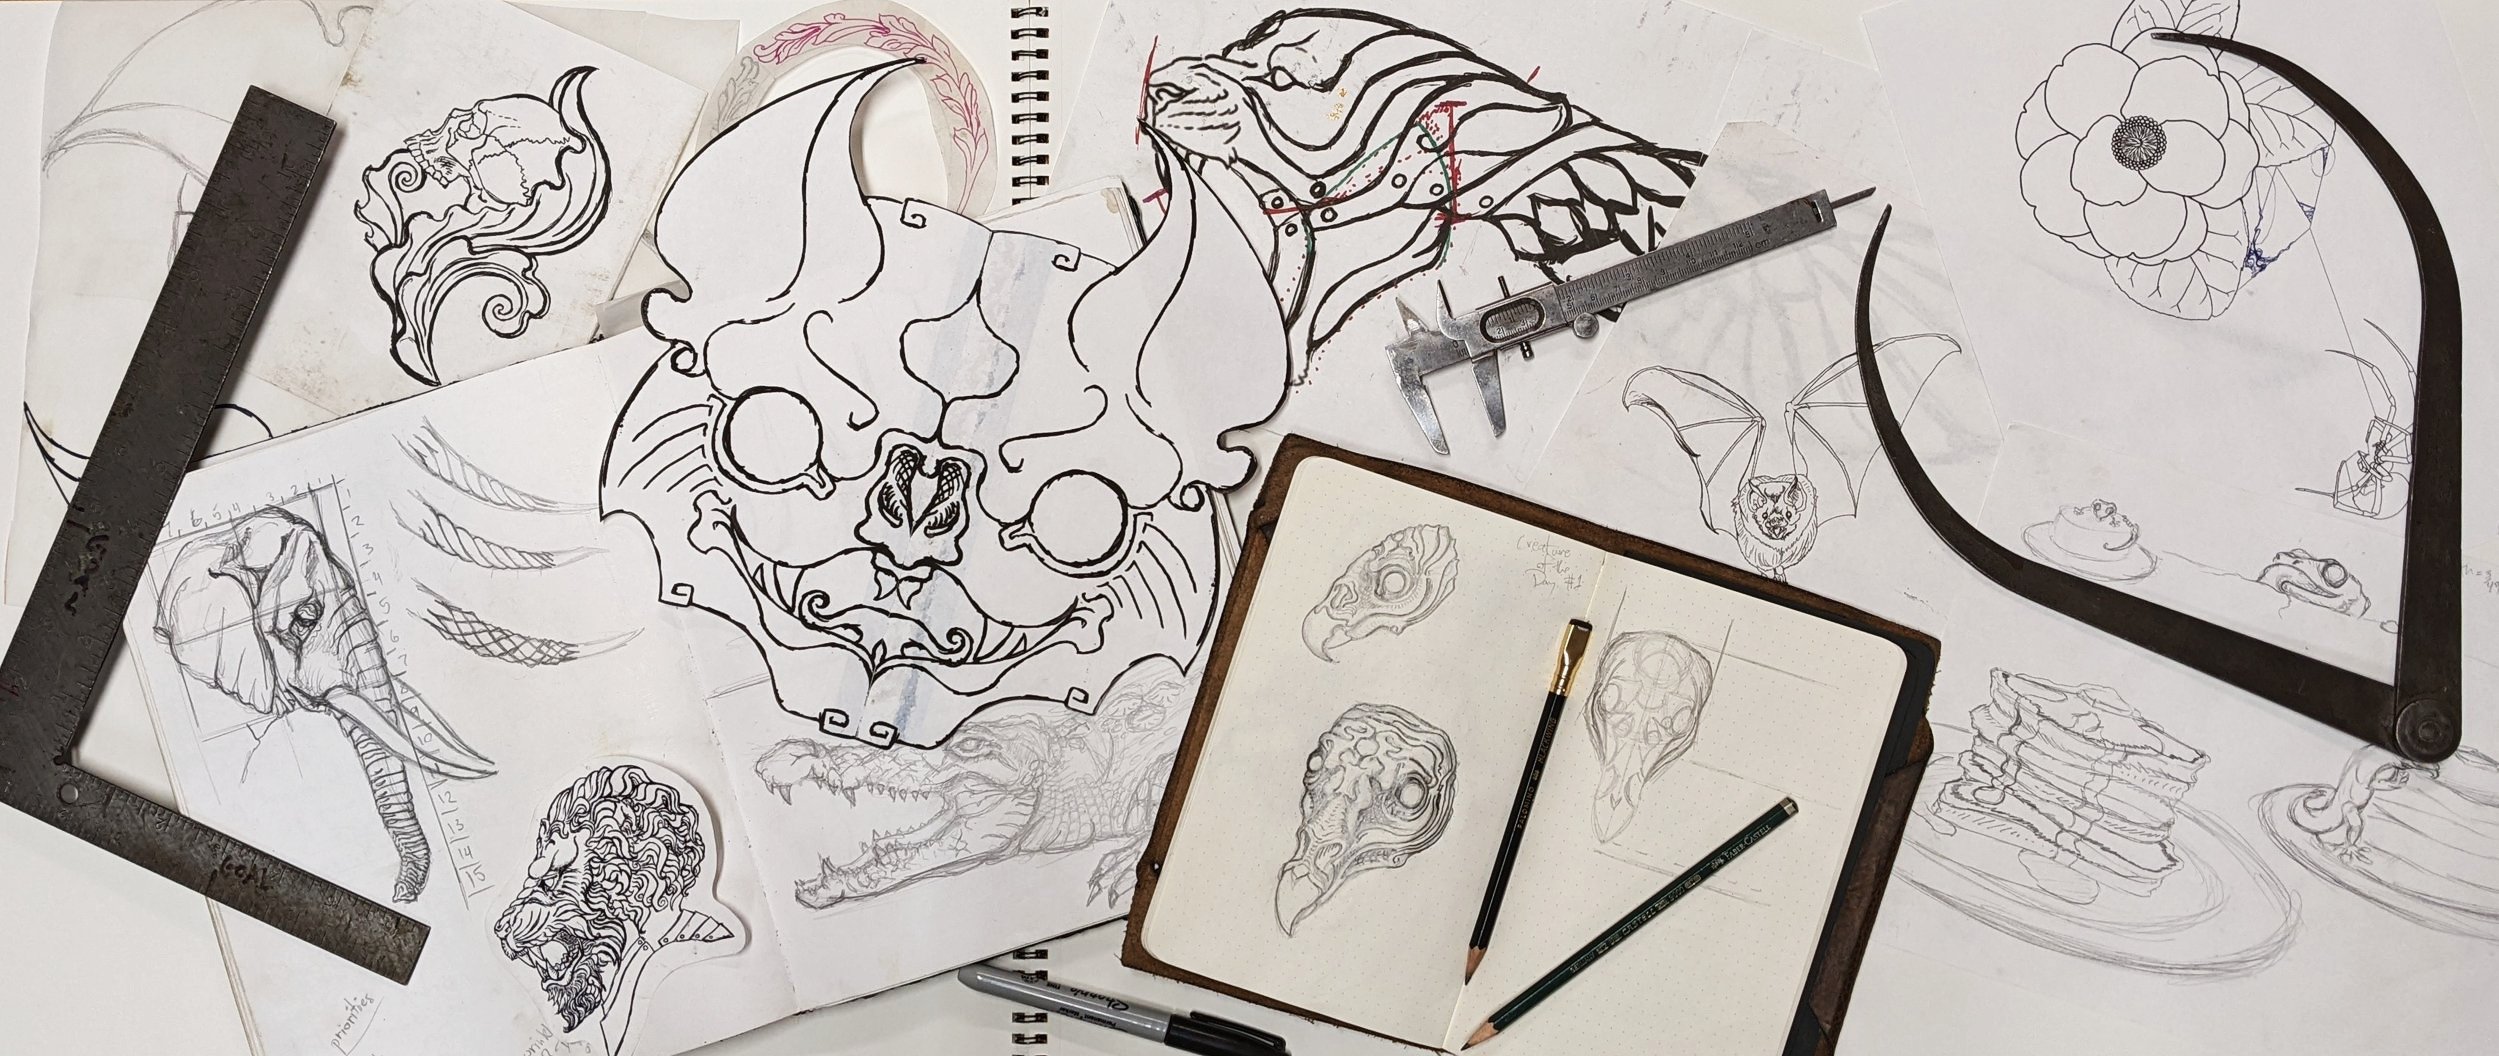
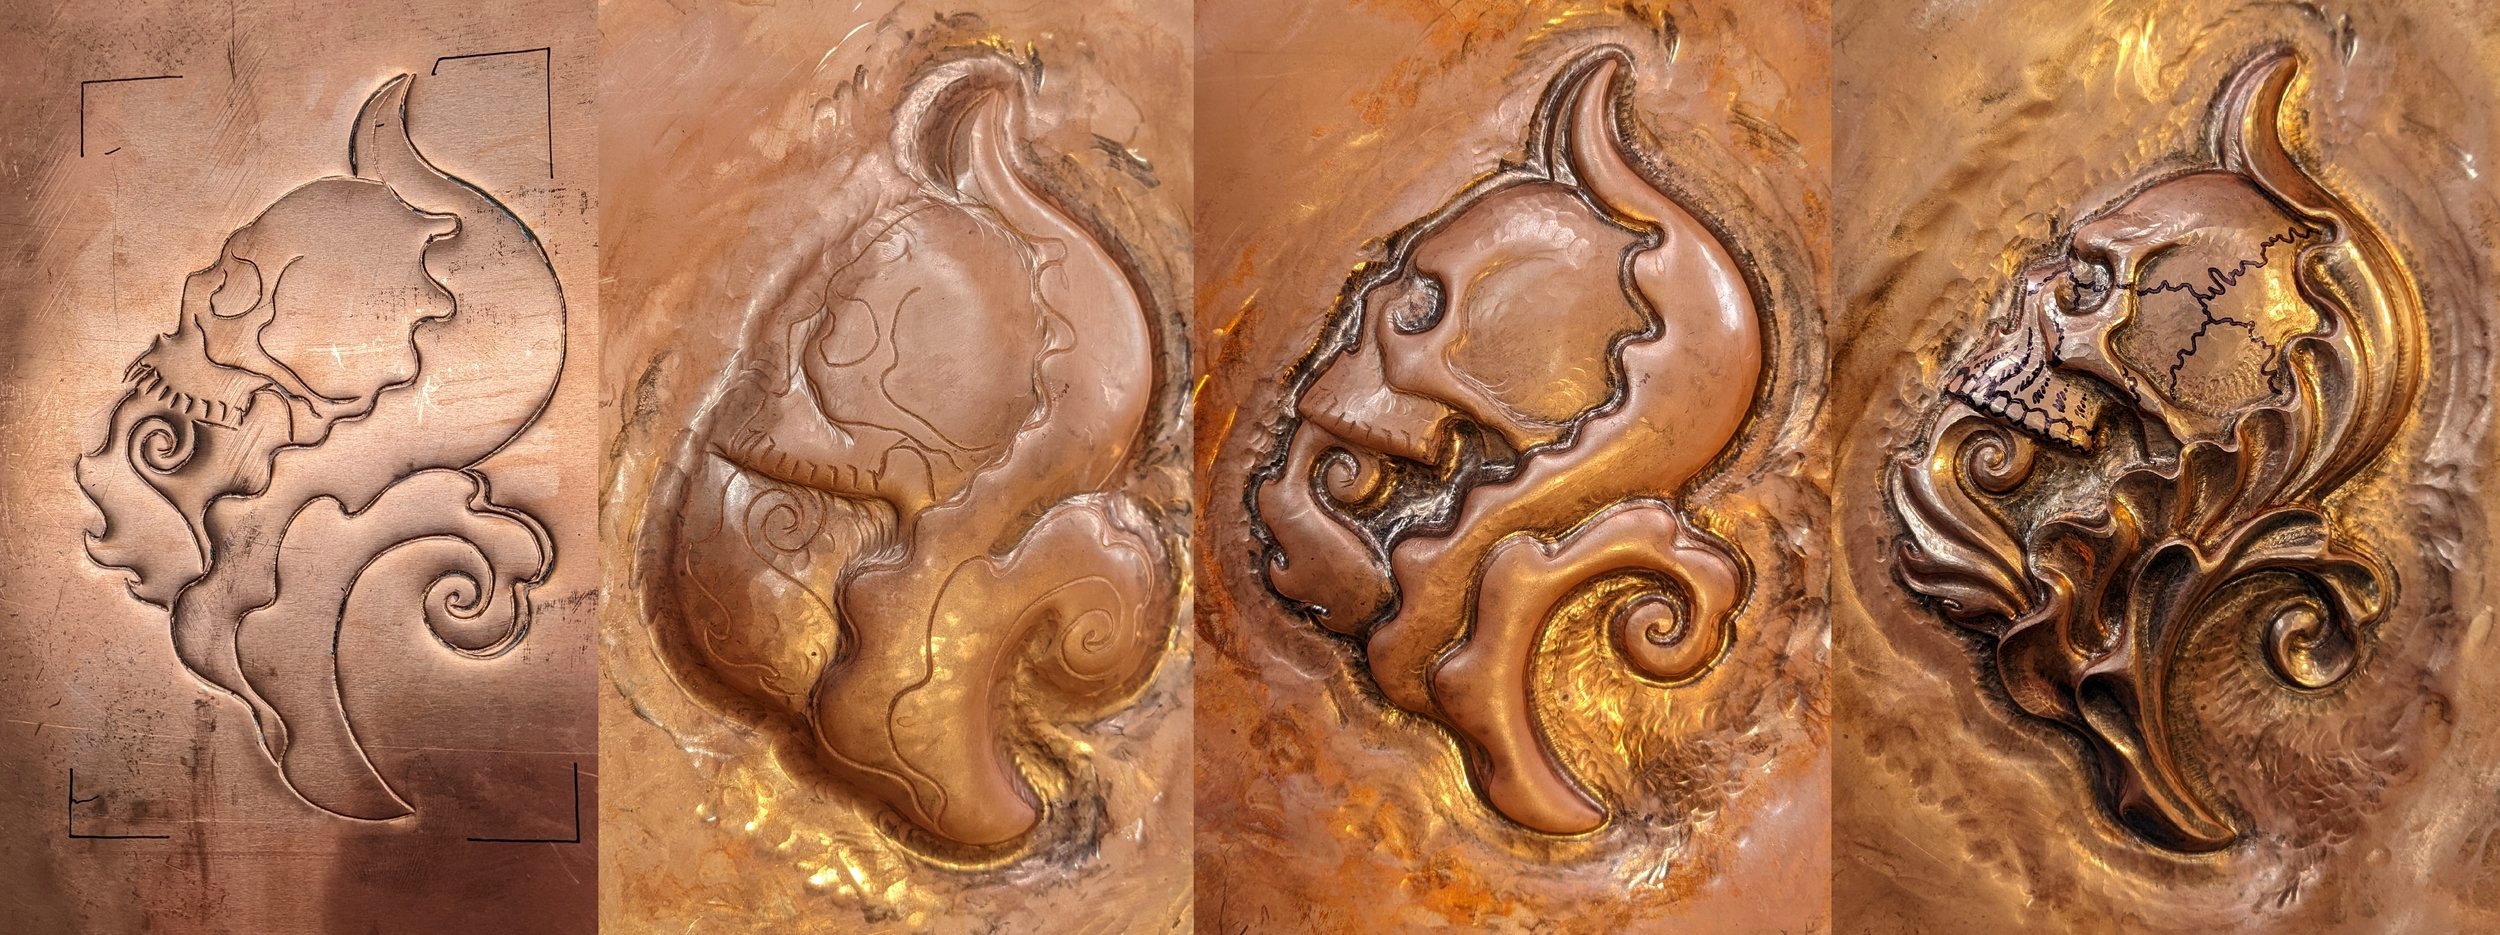
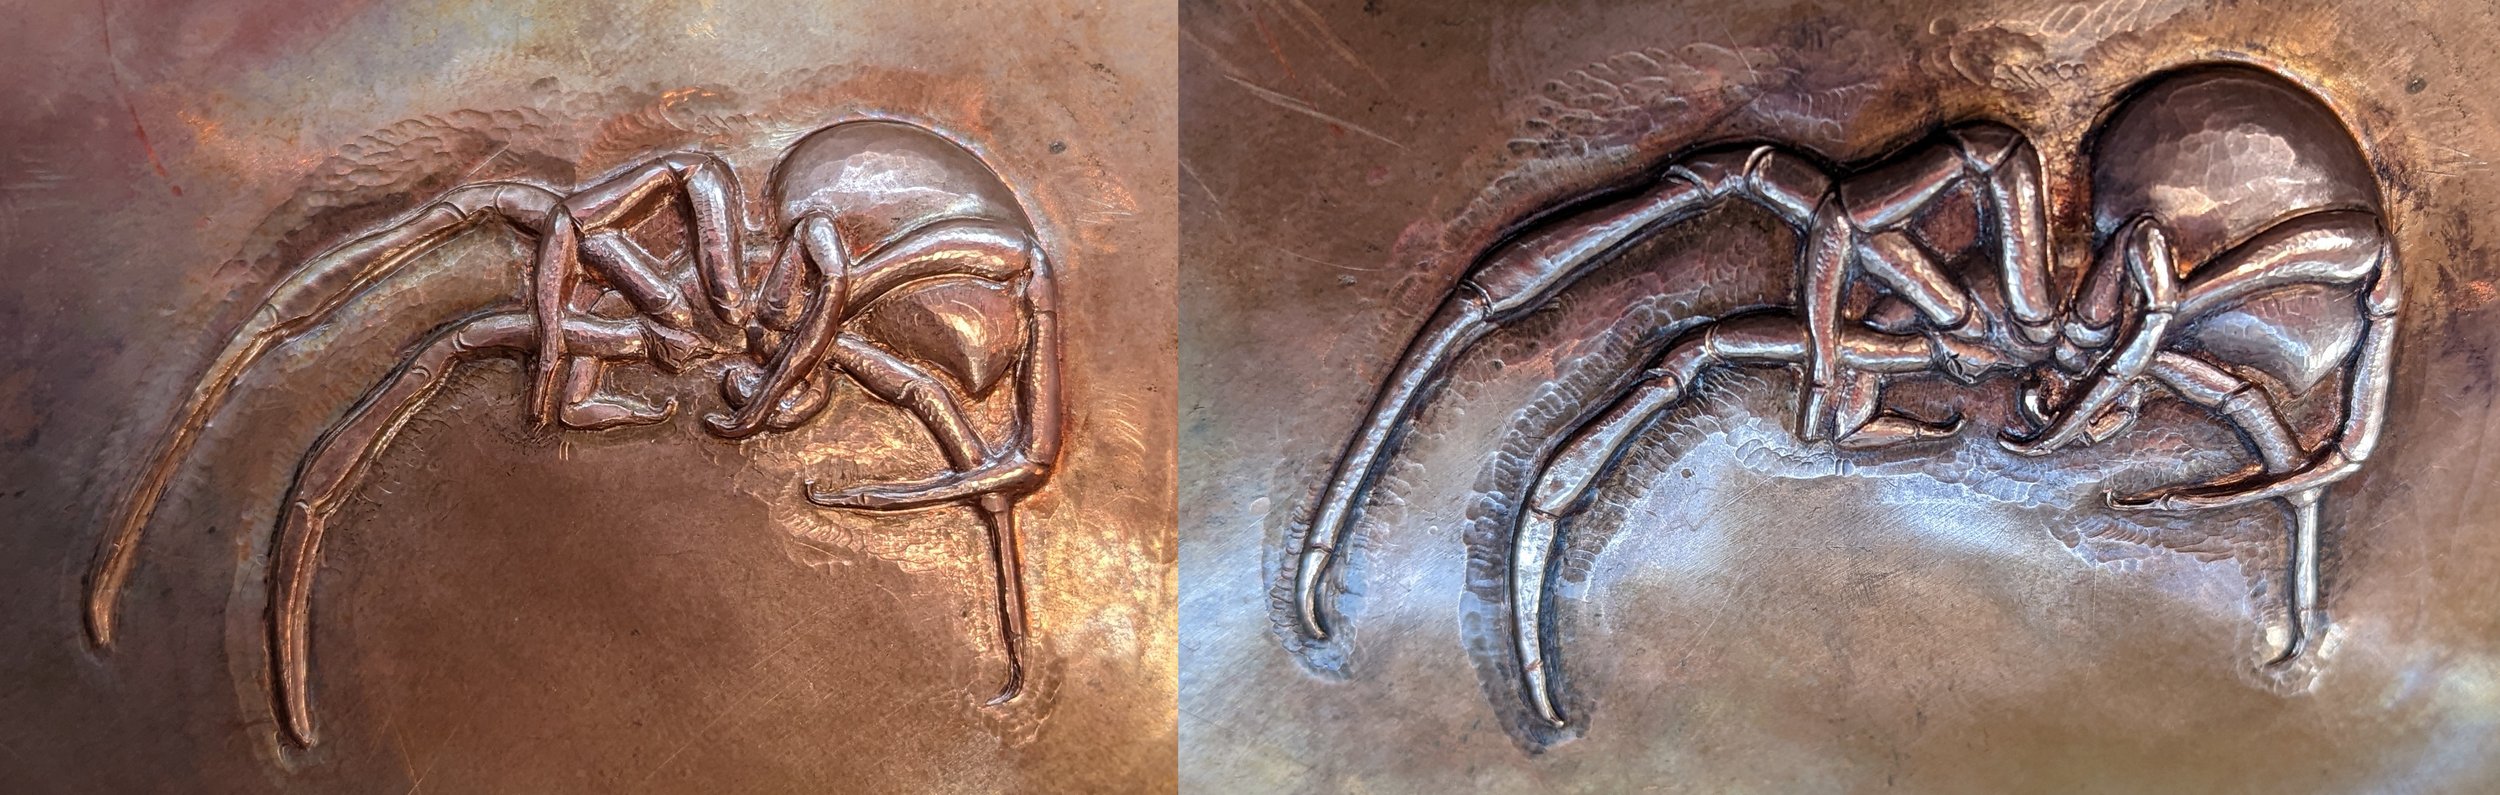
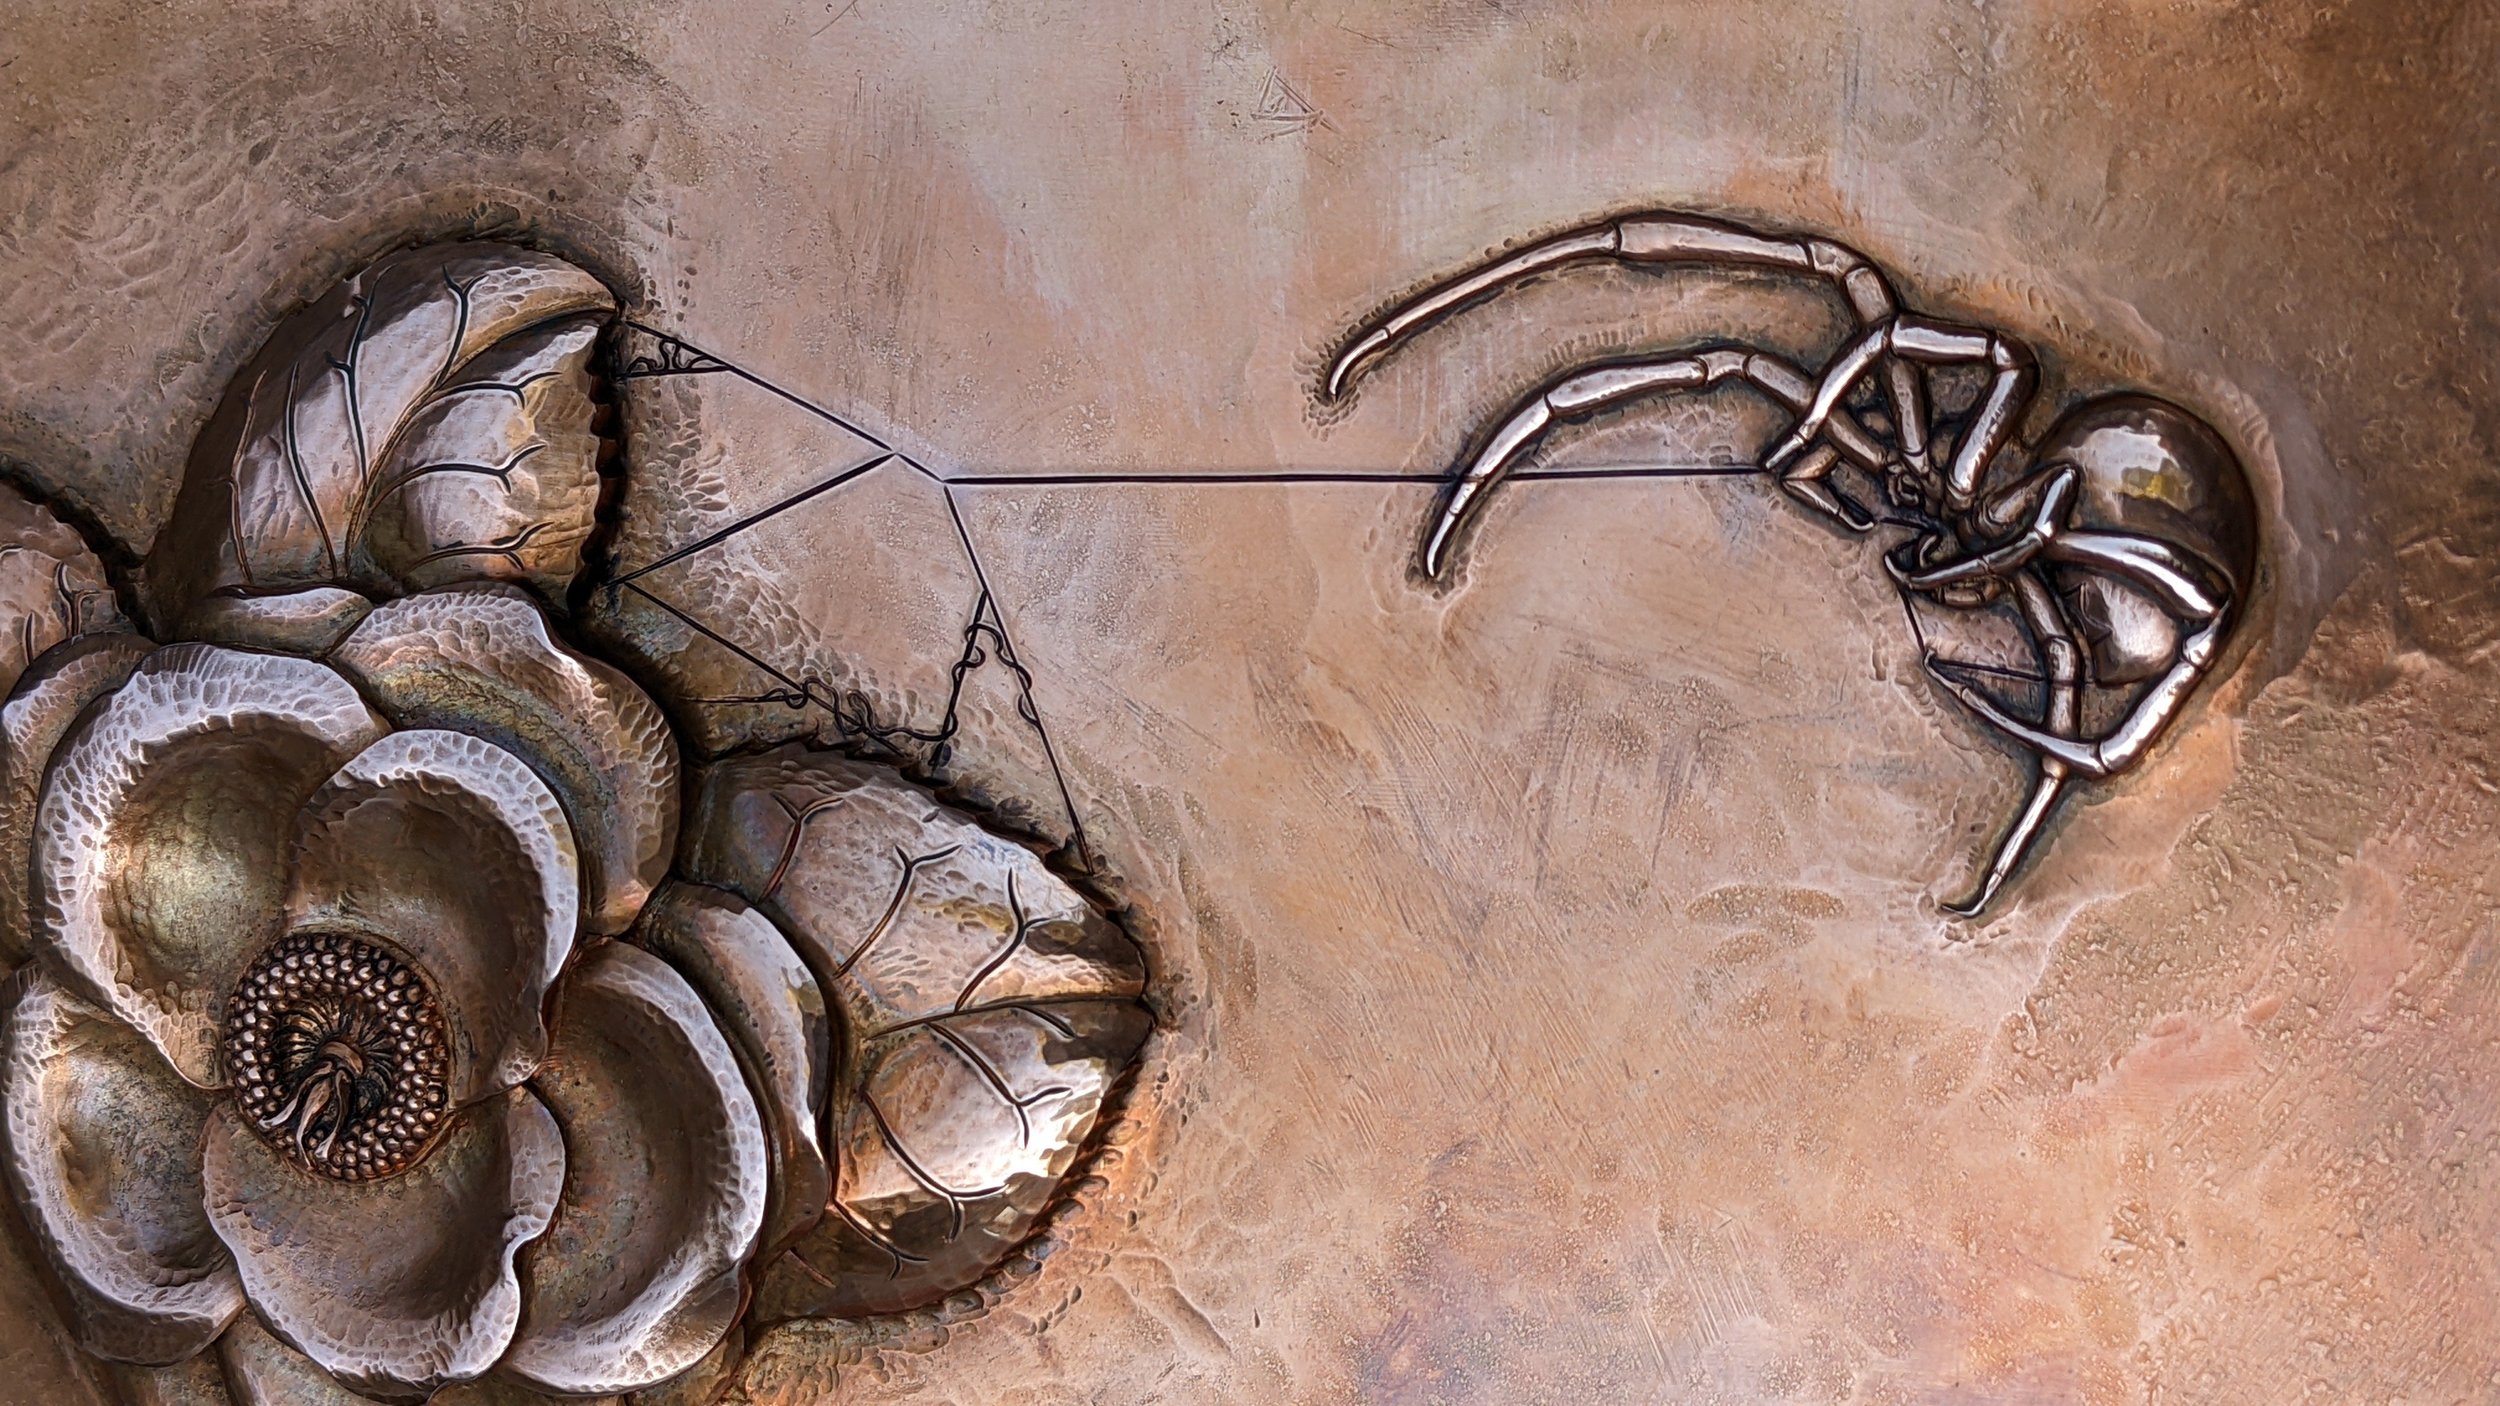
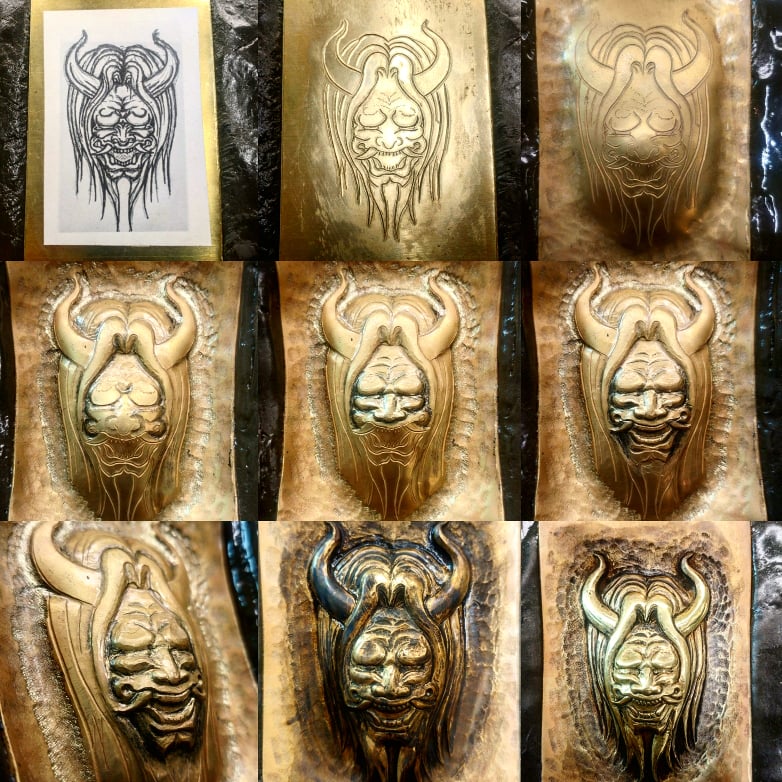
If you have trouble with drawing please let me know. For educational purposes you can trace off of a picture to model from. I have attached some drawings to this email I have done in the past for projects to demonstrate how simple they can be, in fact sometimes too much information on a drawing for chasing can be unhelpful. This is because the extra information gets in the way of you seeing the form of the subject.
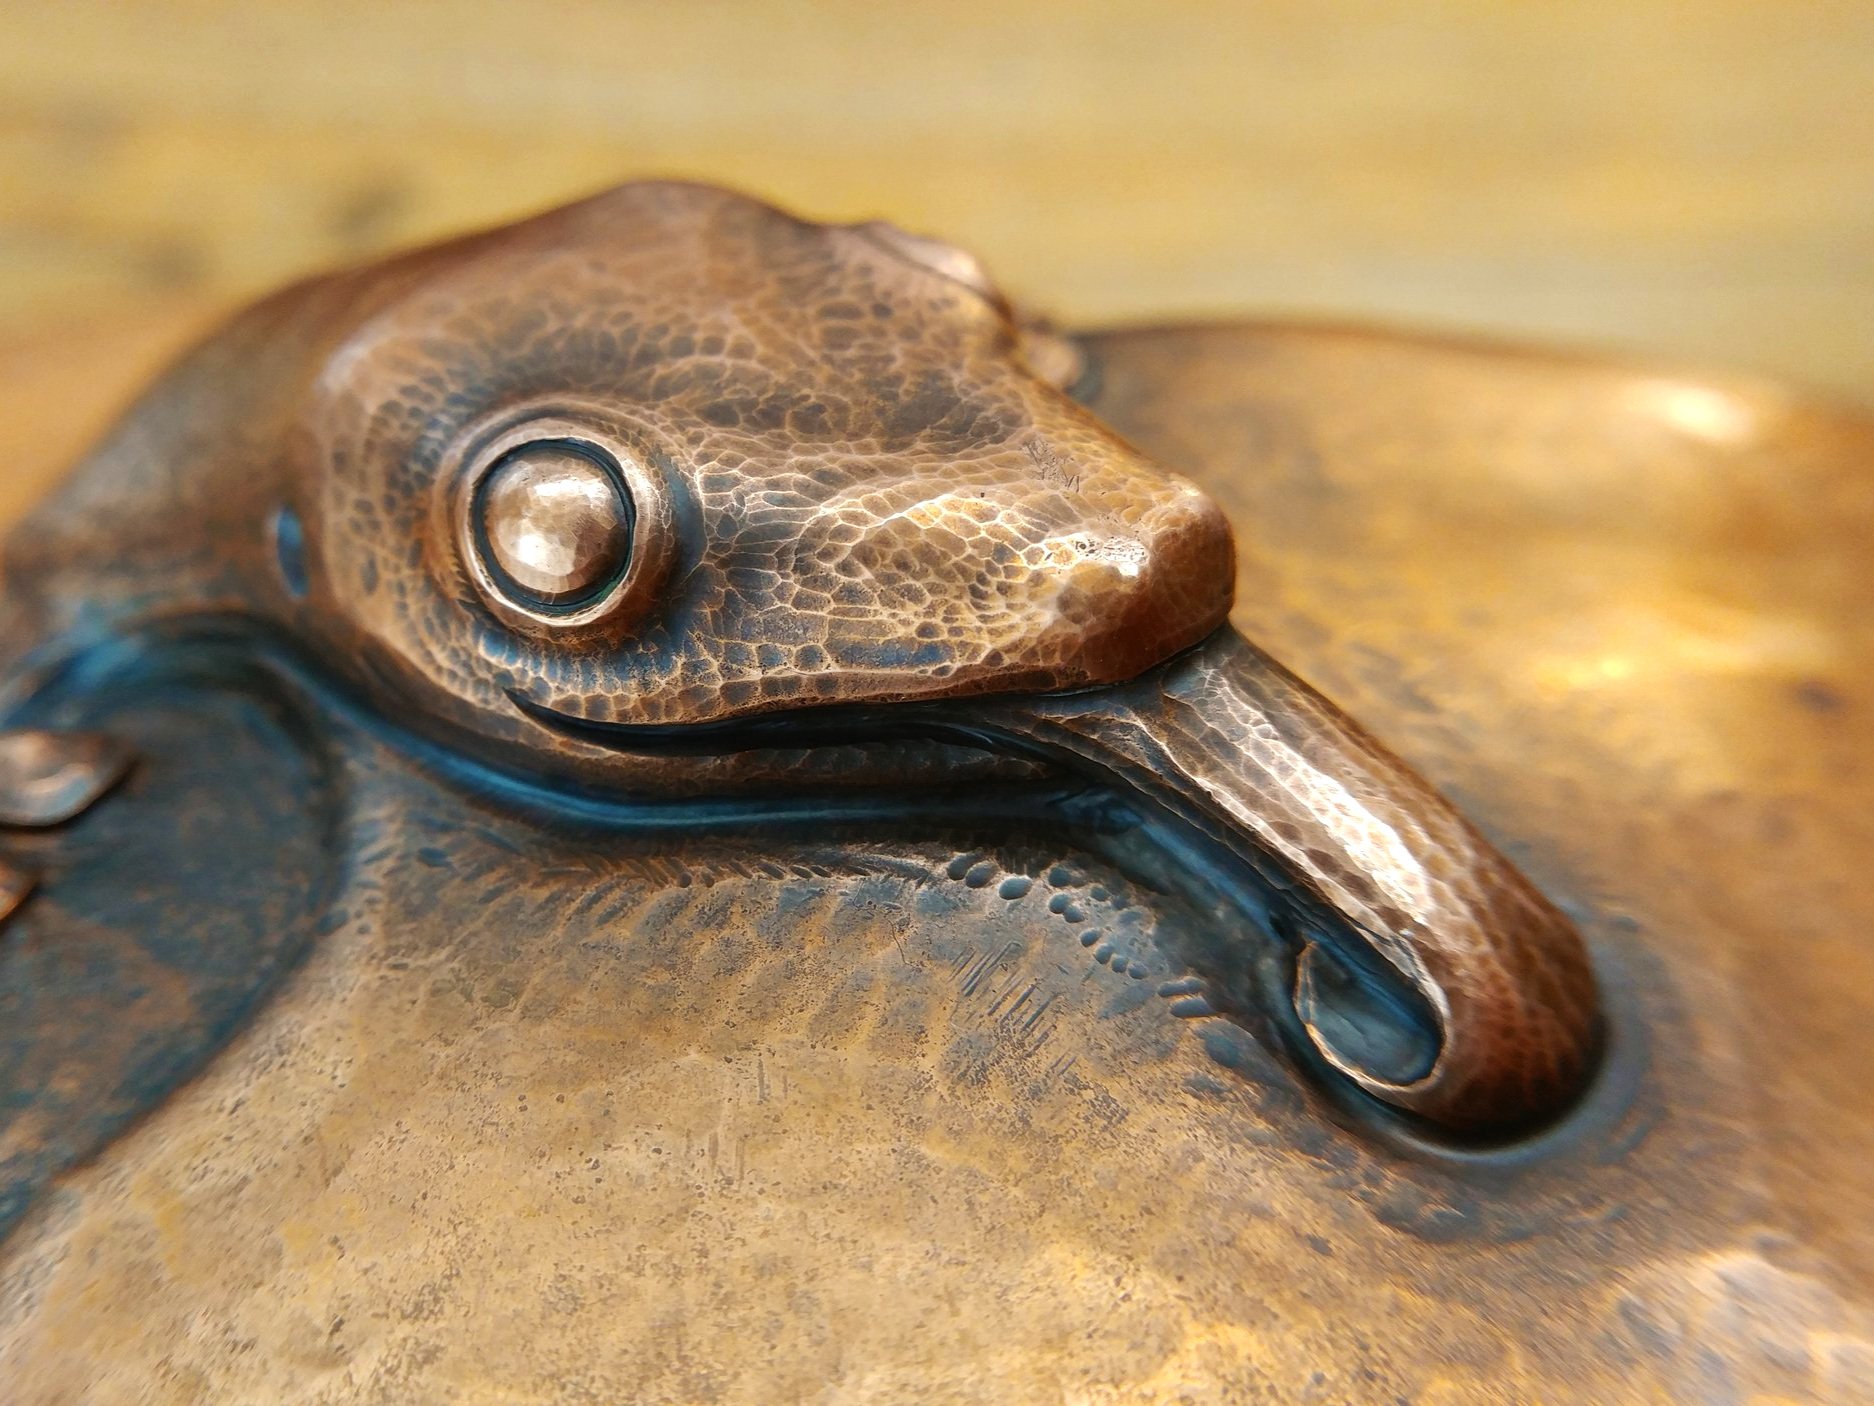
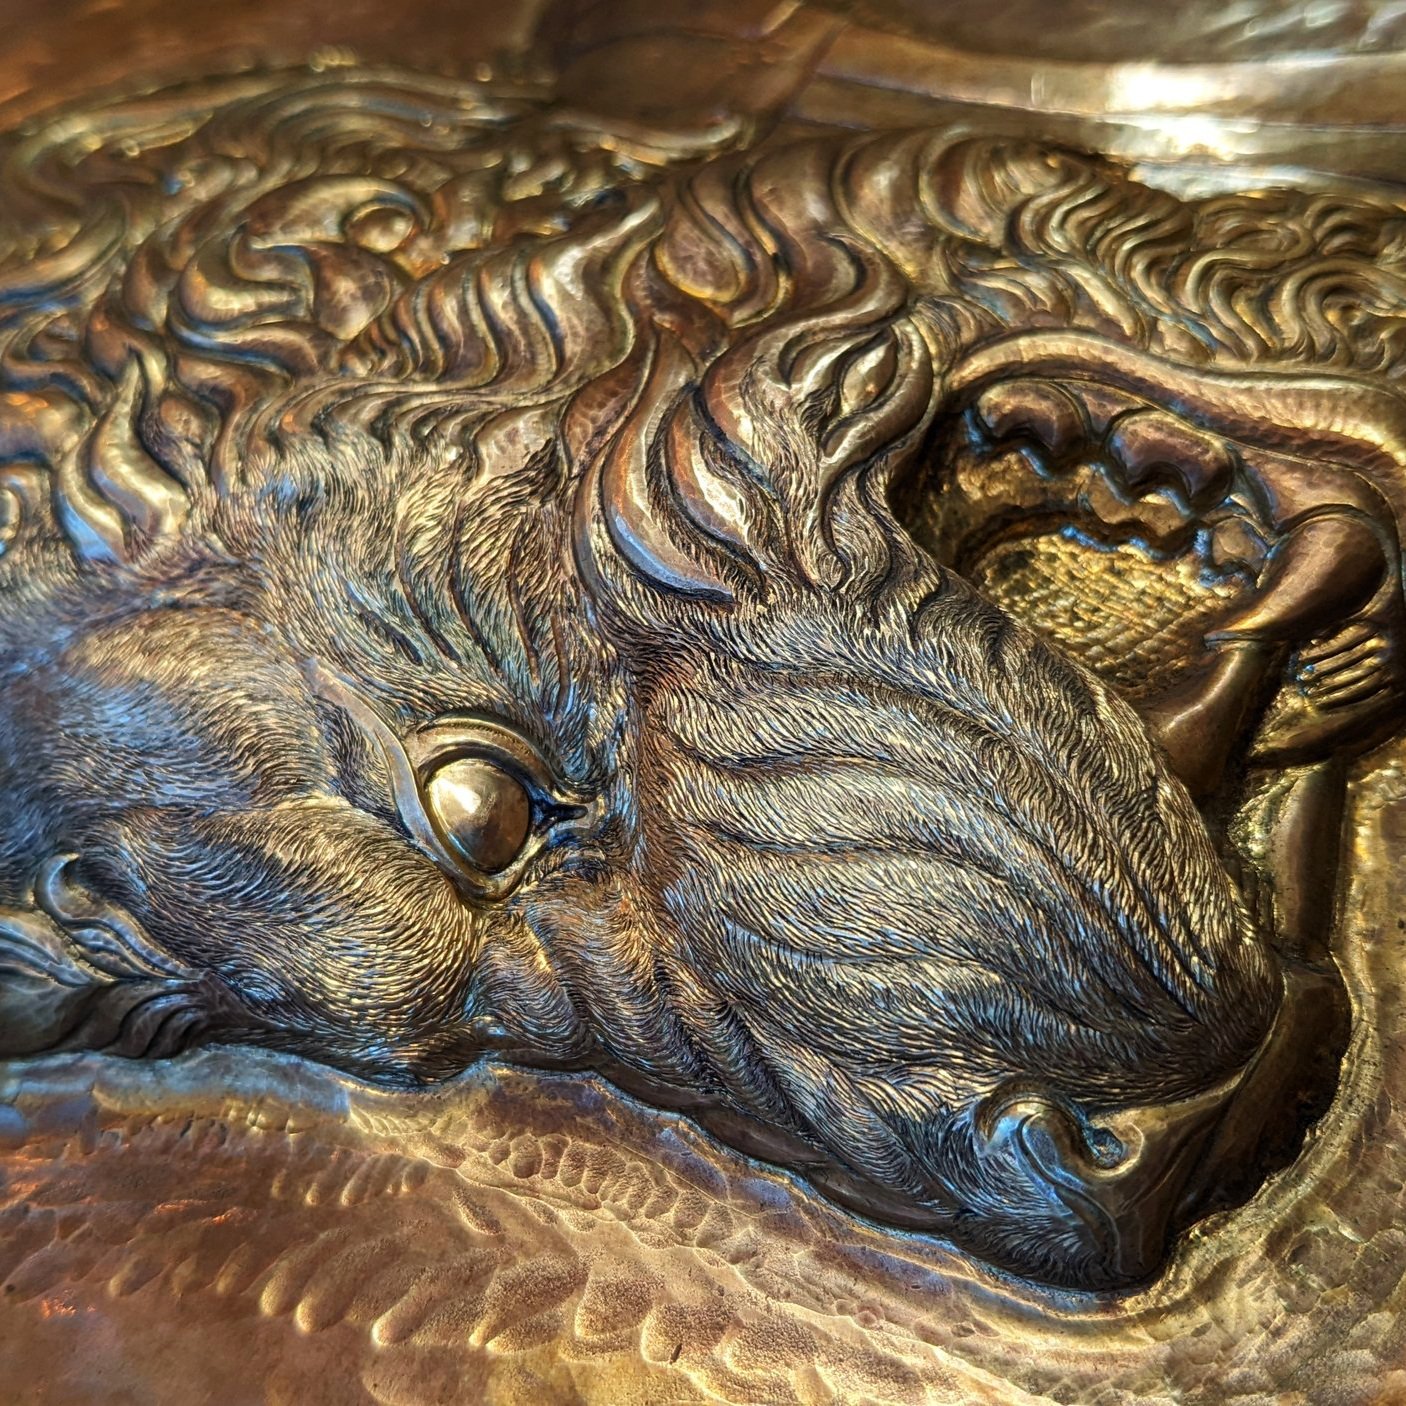
An easy example would be fur on a mammal, fine fur is a detail you add last when your sculpture is finished. The fine fur texture looks amazing but doesn’t add much for the sculptural relief itself. So you will need to think of those furry mammals' primary shapes and forms without the fur while you are drawing. Later when you are ready to add the fur you can pencil them in at the end or on another copy of your drawing.
If you have questions about this process please reach out to me, be assured we will cover more of this in person but feel free to contact me with questions.
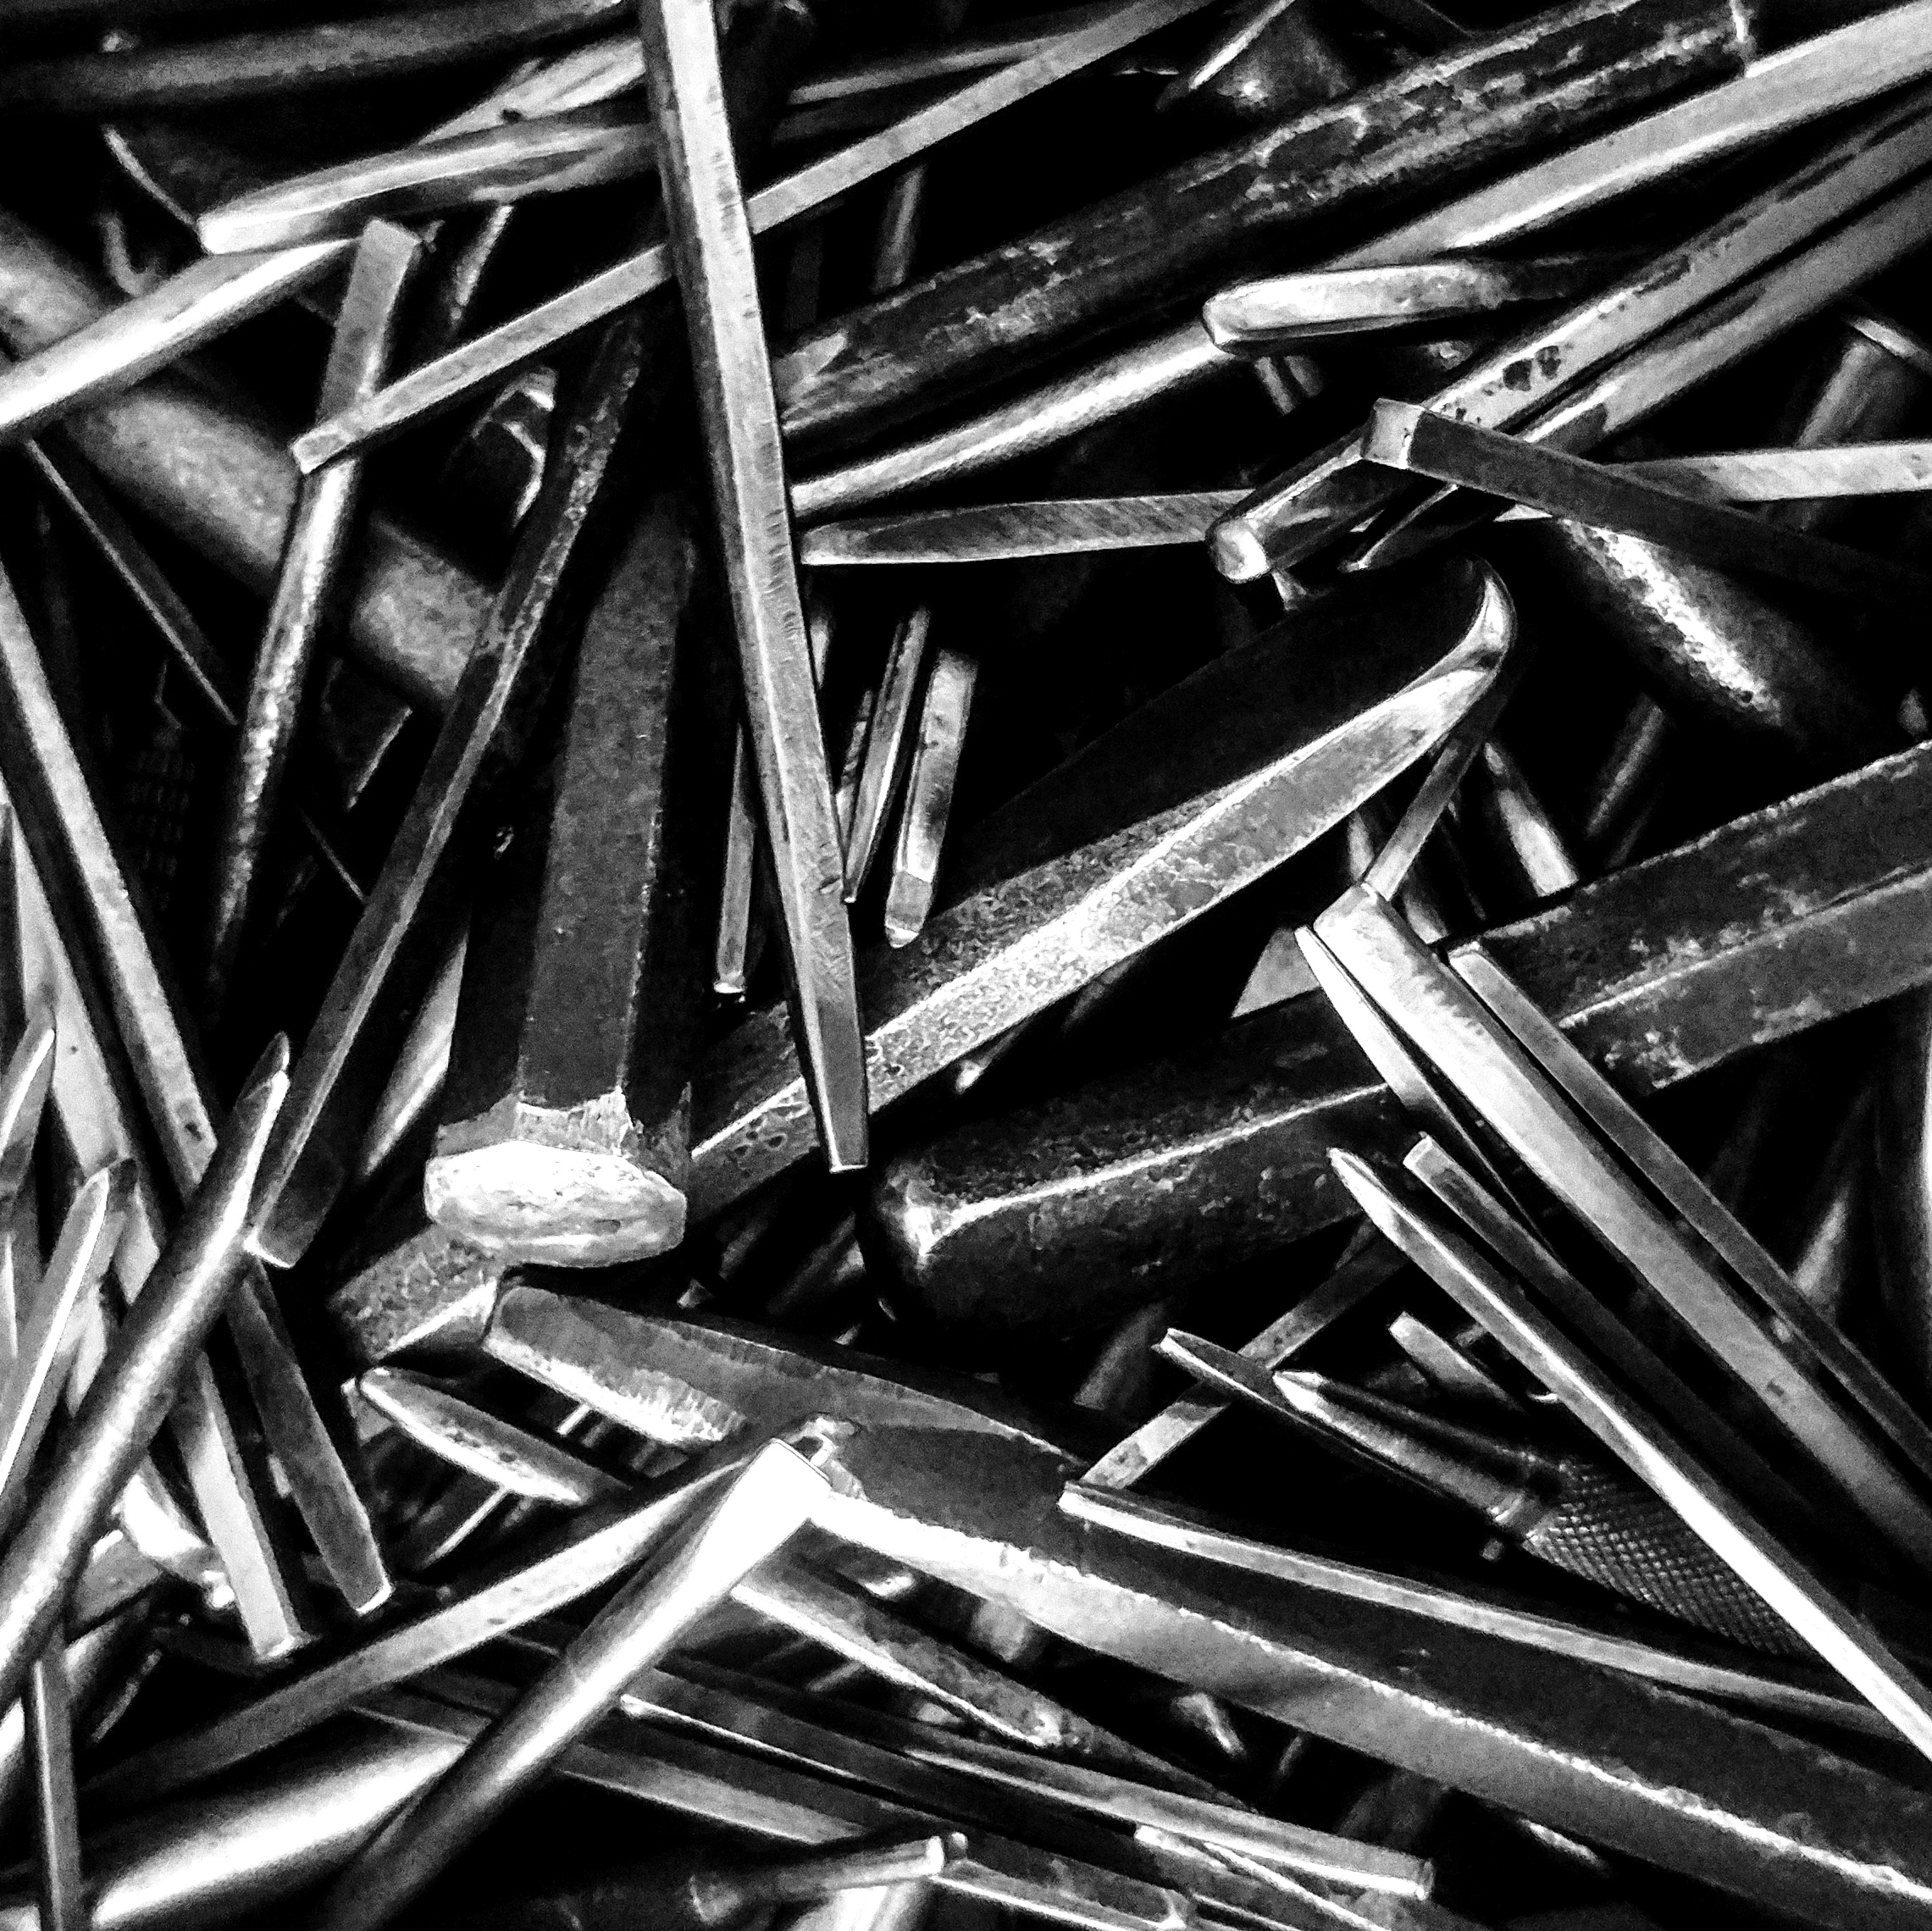
Folks will be bringing a lot of their own tools, I will be bringing a lot for us as well, everyone will be well supplied but your drawing and what you choose to study is something that I cannot make for you. That is to say, I do have example projects that if you wanted to have a “on rails” experience, just following a step by step project to explore the tools, we can make that happen. I’m not trying to force anyone to jump into the deep end if you’re not feeling prepared to do so. However the heart of a scientific study is to explore a subject through observation, and doing your own drawing means you get to add a personal touch to your work. My shorter workshops do not have the time to deep dive into a more personal project like what we will be attempting together in this workshop. It is an exciting opportunity that I am looking forward to exploring and guiding you through!
Again if you have any questions about your drawing or subject you chose, or want me to proof your drawing please send me an email at Pryorcreationsllc@gmail.com .
Wishing you all the best! See you in a few weeks!
-Douglas Pryor”